|
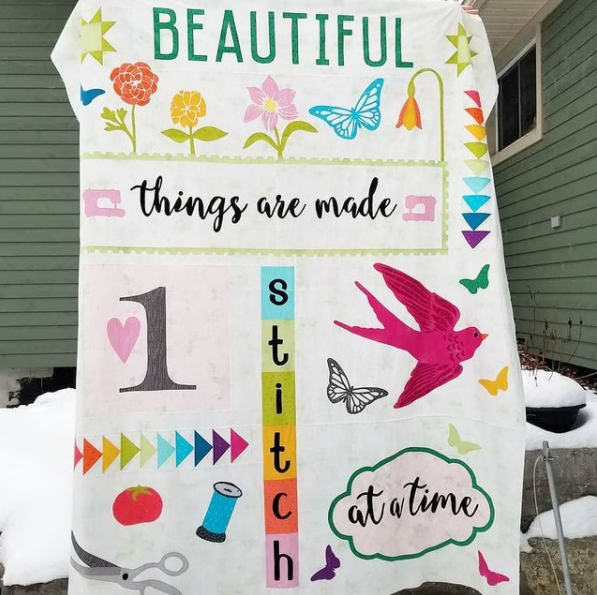
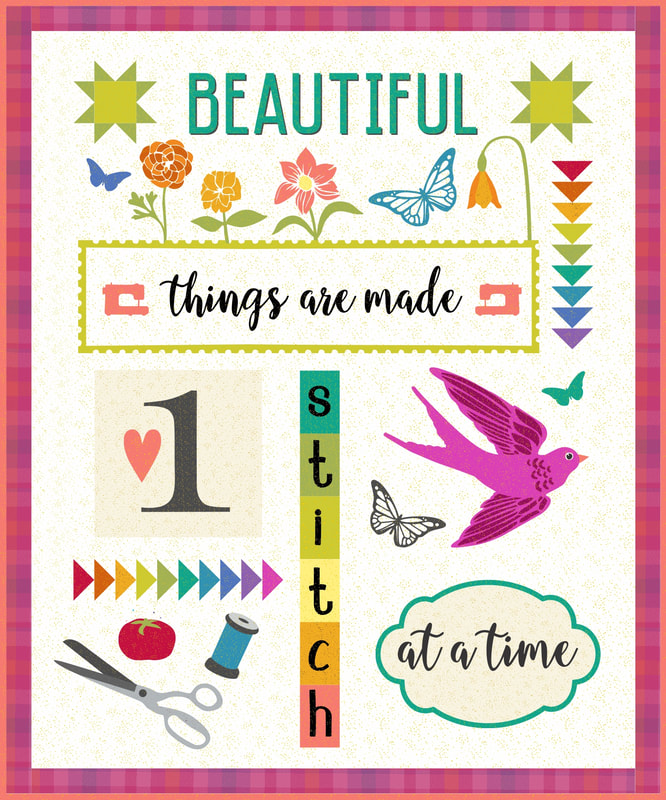
Hello everyone! If you're looking for the border and finishing instructions for the Beautiful Things Quilt Along, you're in the right place! First of all, I want to express sincere gratitude for those who have quilted along with me these past few months--those who have been sharing their finished blocks and tagging me/commenting on posts and engaging with other members of the QAL community feel like close friends already! Even though I haven't met many of you in person, your engagement and friendship have lightened the end of this bleak 2020 that we've all experienced. If you're behind, don't worry! I'll be leaving this free pattern up on my site! However, if you are able to finish by January 31, 2021 and post, you'll be eligible to win the final giveaway and prizes! Block 6 GiveawayPeggy Pirillo won this week's giveaway with her finished blocks! She won a goodie bag of fabric & FlexiFuse!! Cutting & Adding Borders
BackingI have a backing surprise video dropping on January 19th, 2021...you will LOVE IT! I've collaborated with another designer on this (she has designed it, but I'll be showcasing it)...Please note that this option won't be free. You'll need to purchase a PDF pattern that's $9 and worth EVERY PENNY because you'll want to make it again and again! Because the backing was an odd size, I decided early on that I'd want to piece a backing...but don't worry. It's a super fast finish (a couple hours!) and will make the back of the quilt as appealing as the front! Stay tuned... Quilting & BindingLeisha Kaye with @quiltingit is my go-to for the MOST AMAZING custom quilting. Seriously. She blows my mind every time! Where this quilt is 90% applique, you'll really want to pay those extra $$ for the good stuff. The custom quilting will accentuate the applique, where a pantograph or edge-to-edge will distract. To contact Leisha, click the button below and it'll open an email contact form where you can schedule your quilt with her or ask questions. She has a 2-3 week turnaround time so don't wait! Regardless of what you decide, you FINISHED this quilt in just a couple months! Give yourself a pat on the back ;)
Now for the binding! After you've quilted this beast, join the (10) 2-1/2" binding strips together with diagonal seams, ensuring the seams exclude the selvage again, of course. Attach the binding using your favorite method (I use a scant 3/8" seam when attaching my binding to my quilt). Don't forget to share your quilt on Instagram by tagging me @madi_hastings or send me an email to [email protected] ...I would love to see your finished work (or unfinished! ;) Happy quilting, and thanks again for quilting along with me. Until next time-- xoxo madi
0 Comments
Your comment will be posted after it is approved.
Leave a Reply. |
AuthorHi! I'm Madi Hastings, quilt pattern and surface designer! My obsessions are many, including cooking, plant science, and books, but I'll try to narrow down my geeky-ness to pattern design and quilting for the purpose of this blog! If you'd like to make a suggestion or collaborate professionally, just send me an email at [email protected] Archives
January 2021
Categories |
||||||||


 RSS Feed
