|
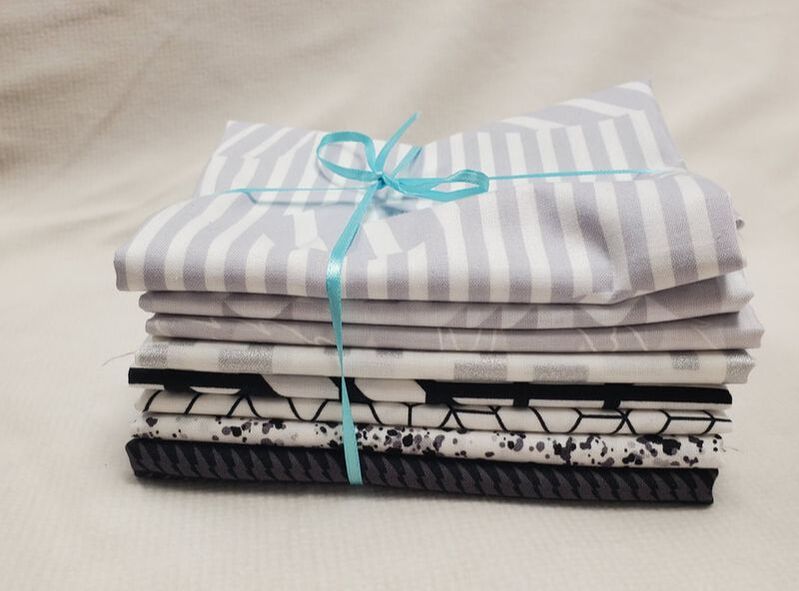
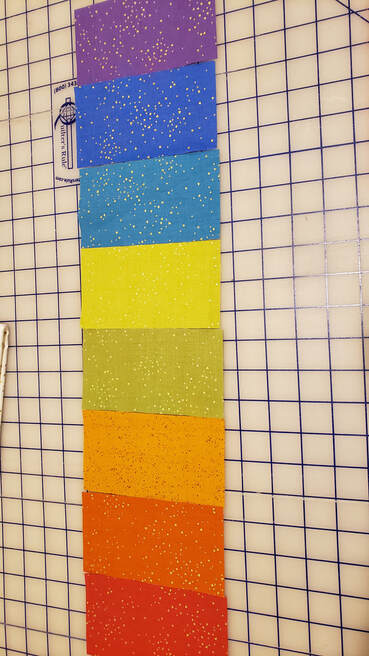
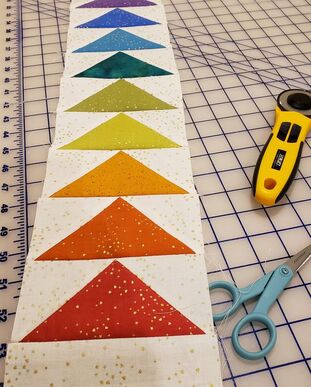
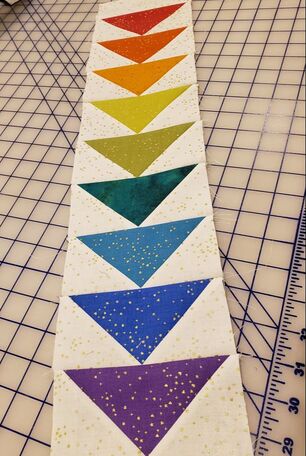
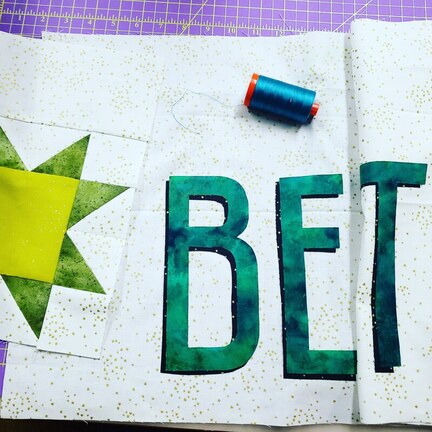
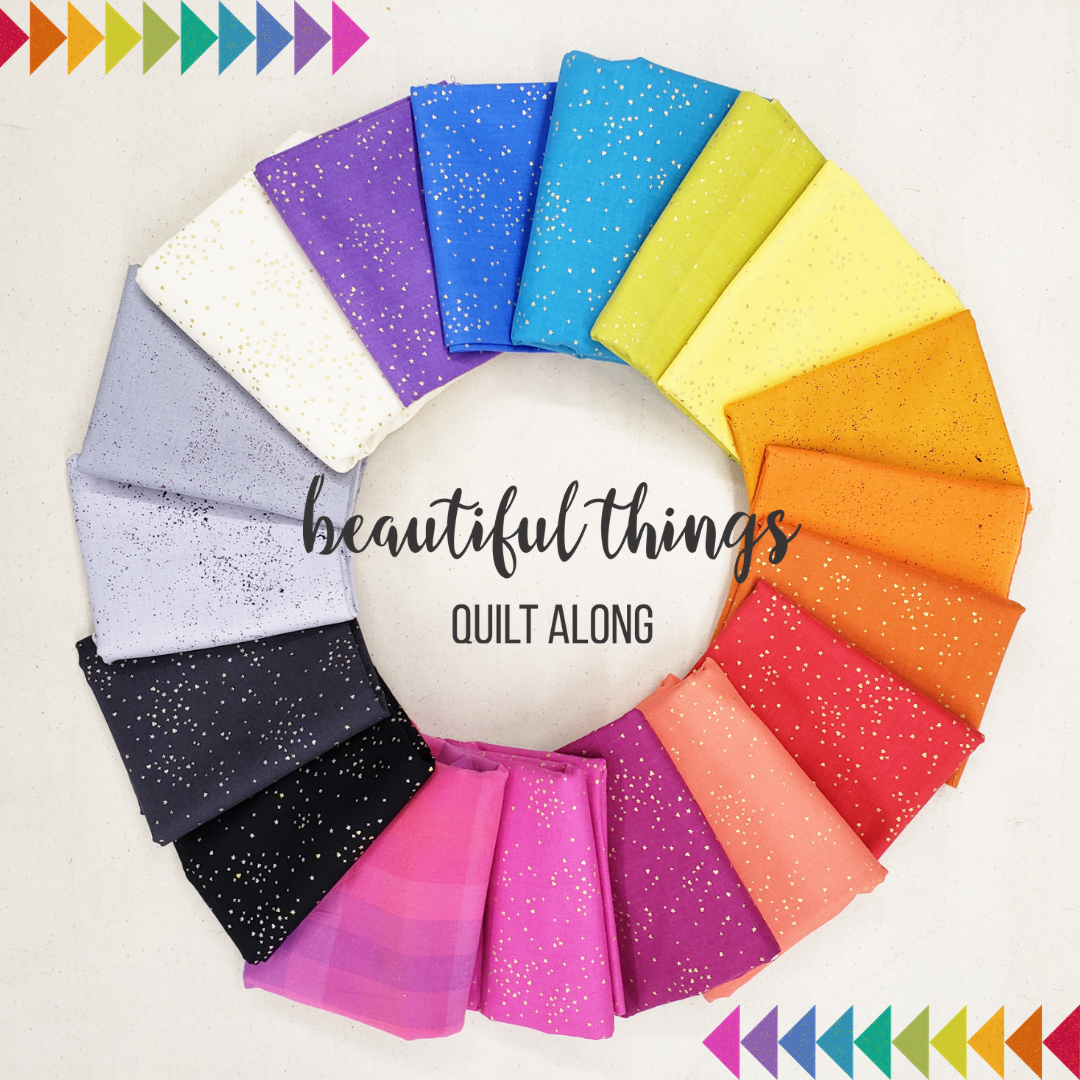
Hello everyone! If you're looking for the border and finishing instructions for the Beautiful Things Quilt Along, you're in the right place! First of all, I want to express sincere gratitude for those who have quilted along with me these past few months--those who have been sharing their finished blocks and tagging me/commenting on posts and engaging with other members of the QAL community feel like close friends already! Even though I haven't met many of you in person, your engagement and friendship have lightened the end of this bleak 2020 that we've all experienced. If you're behind, don't worry! I'll be leaving this free pattern up on my site! However, if you are able to finish by January 31, 2021 and post, you'll be eligible to win the final giveaway and prizes! Block 6 GiveawayPeggy Pirillo won this week's giveaway with her finished blocks! She won a goodie bag of fabric & FlexiFuse!! 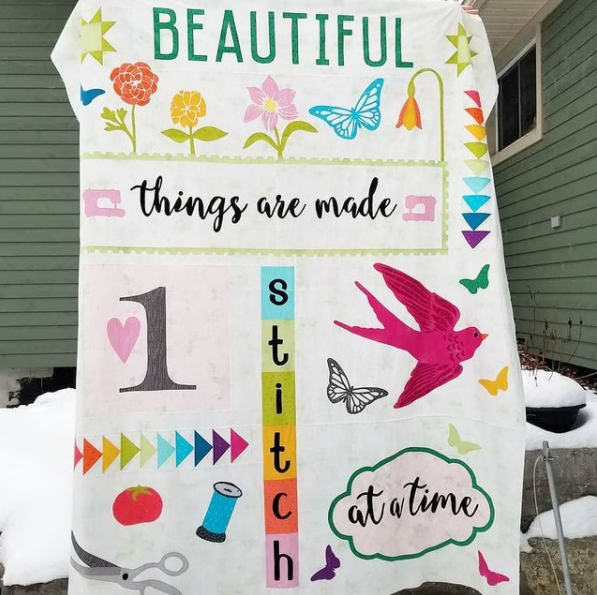 Cutting & Adding Borders
BackingI have a backing surprise video dropping on January 19th, 2021...you will LOVE IT! I've collaborated with another designer on this (she has designed it, but I'll be showcasing it)...Please note that this option won't be free. You'll need to purchase a PDF pattern that's $9 and worth EVERY PENNY because you'll want to make it again and again! Because the backing was an odd size, I decided early on that I'd want to piece a backing...but don't worry. It's a super fast finish (a couple hours!) and will make the back of the quilt as appealing as the front! Stay tuned... Quilting & BindingLeisha Kaye with @quiltingit is my go-to for the MOST AMAZING custom quilting. Seriously. She blows my mind every time! Where this quilt is 90% applique, you'll really want to pay those extra $$ for the good stuff. The custom quilting will accentuate the applique, where a pantograph or edge-to-edge will distract. To contact Leisha, click the button below and it'll open an email contact form where you can schedule your quilt with her or ask questions. She has a 2-3 week turnaround time so don't wait! Regardless of what you decide, you FINISHED this quilt in just a couple months! Give yourself a pat on the back ;)
Now for the binding! After you've quilted this beast, join the (10) 2-1/2" binding strips together with diagonal seams, ensuring the seams exclude the selvage again, of course. Attach the binding using your favorite method (I use a scant 3/8" seam when attaching my binding to my quilt). Don't forget to share your quilt on Instagram by tagging me @madi_hastings or send me an email to [email protected] ...I would love to see your finished work (or unfinished! ;) Happy quilting, and thanks again for quilting along with me. Until next time-- xoxo madi
0 Comments
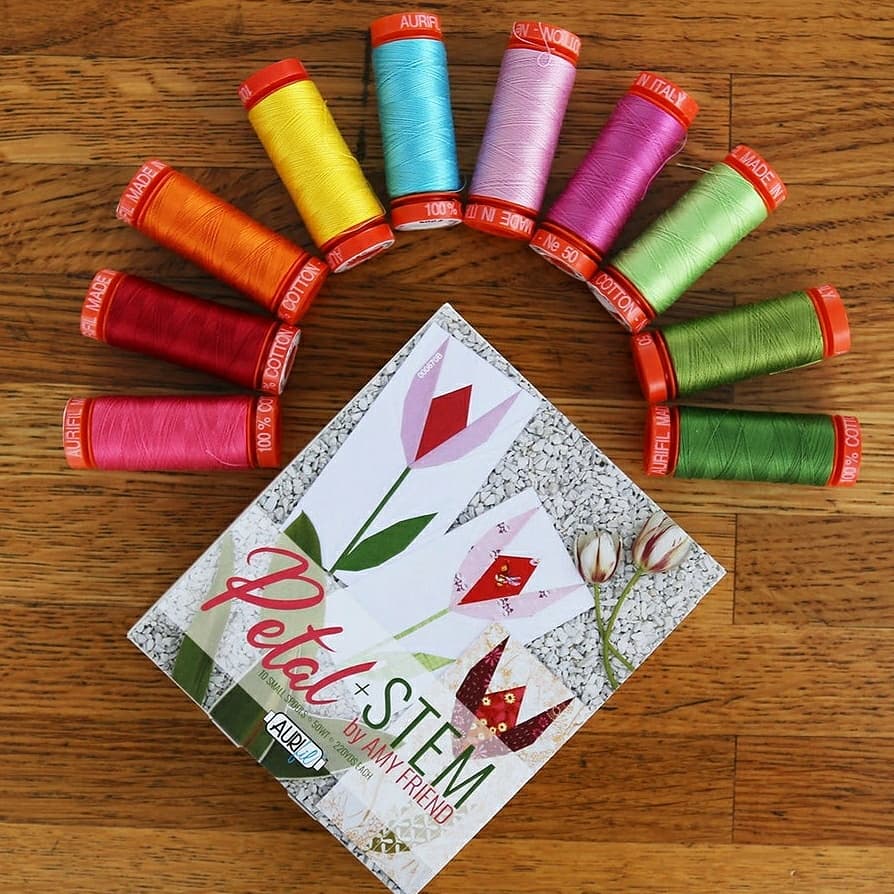
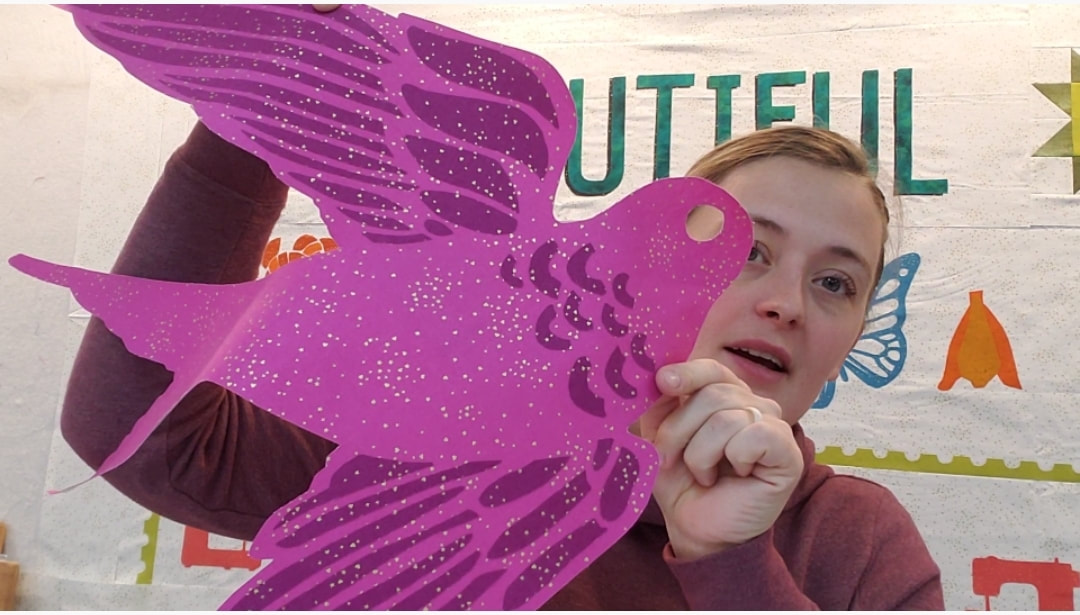
 Welcome back for Block 6!! We're on the home stretch here! (Can you tell from my face in the picture above or is it just the fact that I forgot to take an actual picture so I had to screenshot everything from the video?! LOL) Block 6 is a simple finish, which is a relief because no matter how much I love a quilt, there's bound to be a little burnout by the end...who's with me? If you're just joining the quilt along, just start on this Block 6 with us this week (you'll still need to download some of the files from my blog post that covers Block 1) so that you can be eligible to win the upcoming giveaway and prizes! Previous winners of other blocks have won FQ bundles, cases of Aurifil thread spools, and even a lightbox! What you need to do to be eligible to win the next giveaway: *Finish Block 6 by January 5th, 2021 *Post your finished Block 6 to Instagram and tag me @madi_hastings so that I can see that you finished! (If you're unfamiliar with posting to Instagram, you can also email me at [email protected] to submit your block). *Use hashtags: #flexifuse #madihastings #beautifulthingsQAL #andoverfabrics #aurifil #cutterpillar Let's get started! :) Block 5 Giveaway!Ablin Frengel sent me her finished Block 6 this week (see below) and won this lovely thread pack from Aurifil for the Petal and Stem collection by Amy Friend of @duringquiettime! Congratulations Ablin on a job well done! Keep posting your blocks from Block 5 and participating to receive prizes via email :)
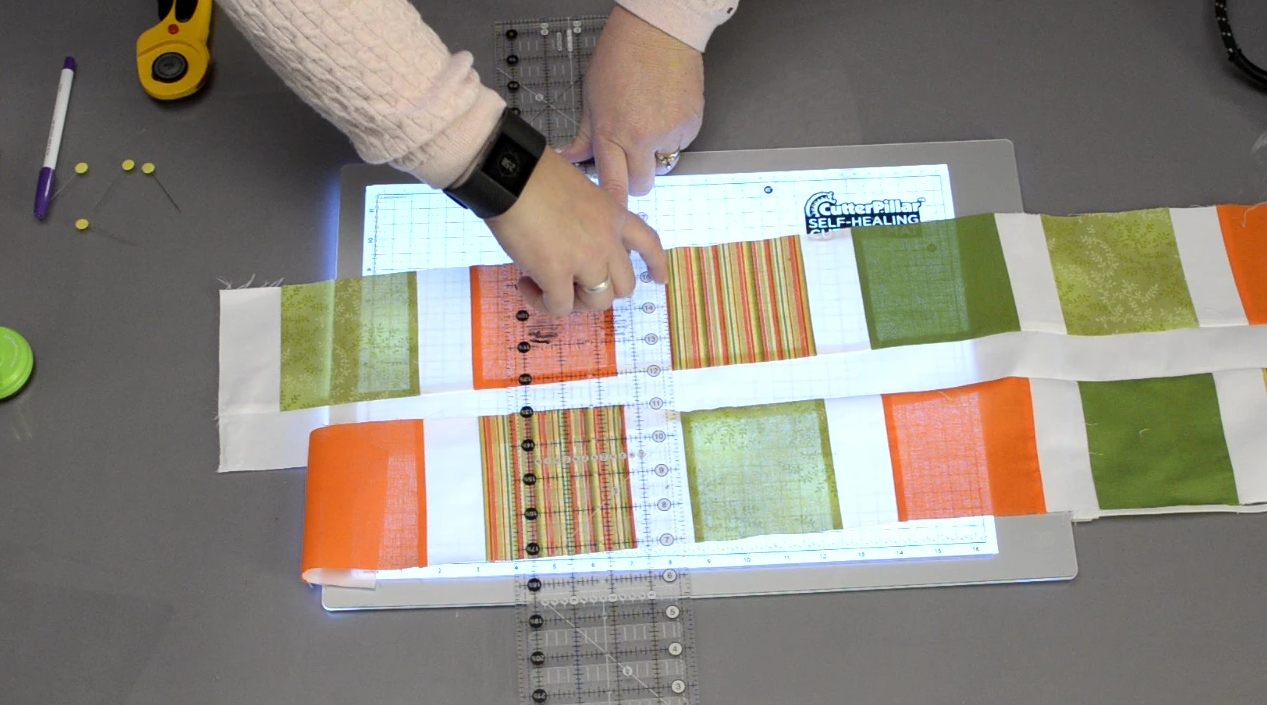
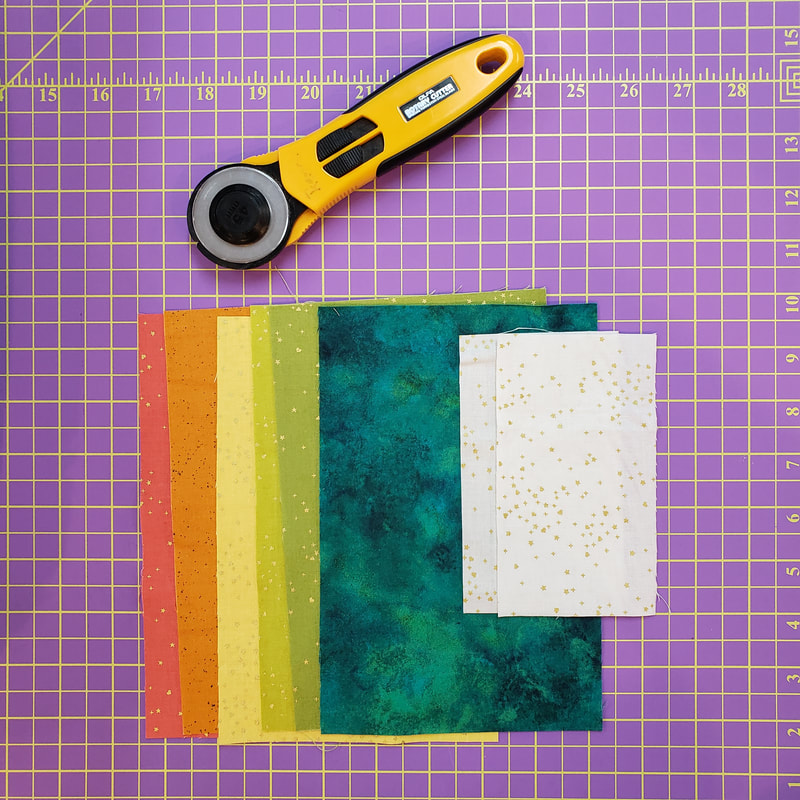
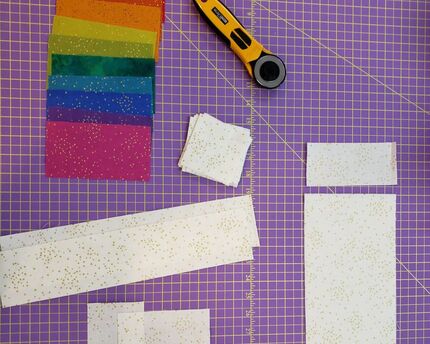
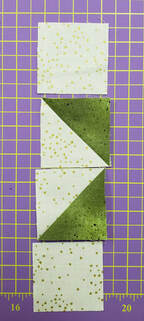
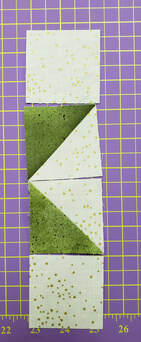
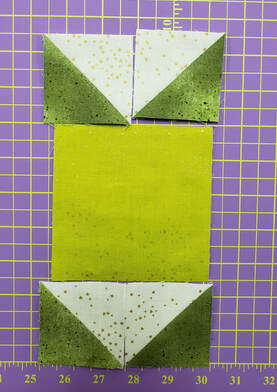
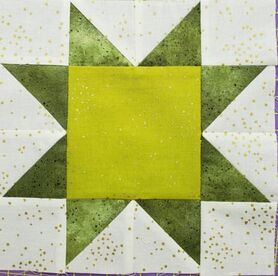
Cutting and Prep Instructions
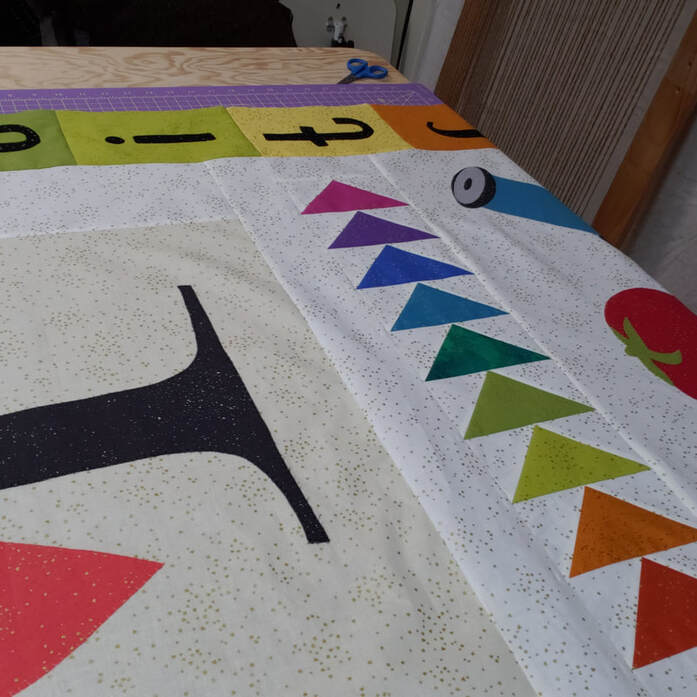
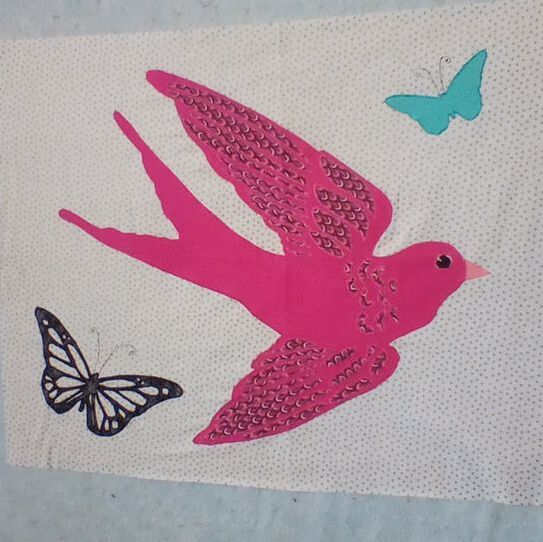
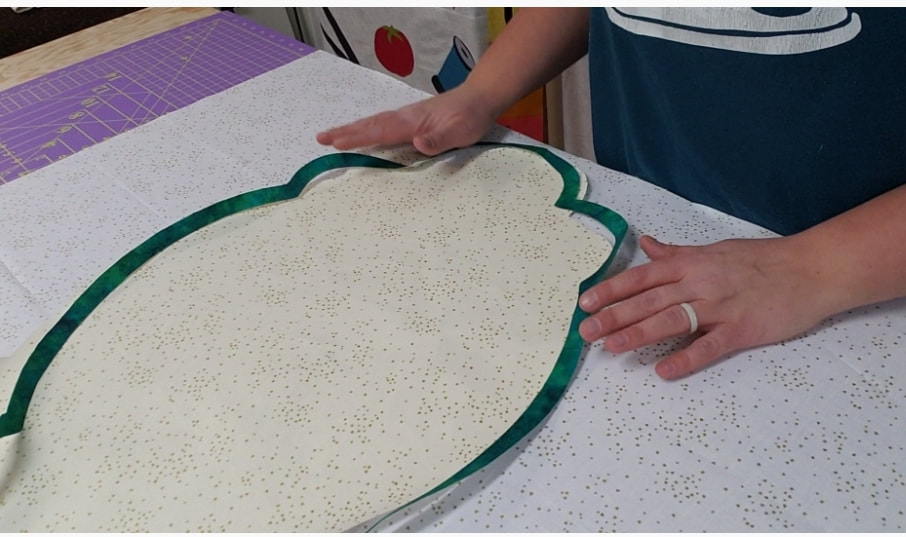
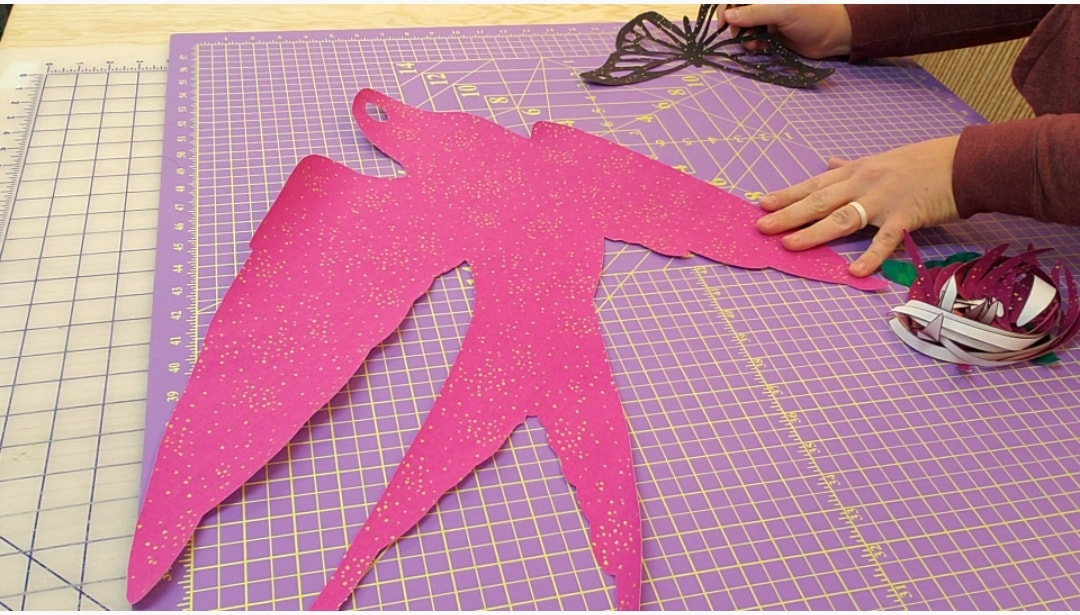
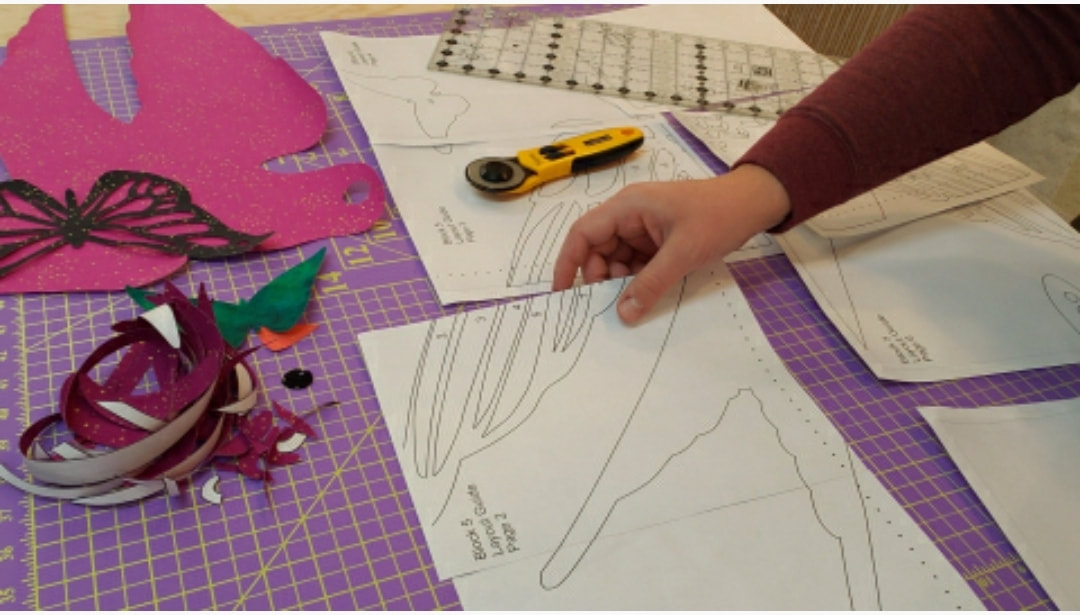
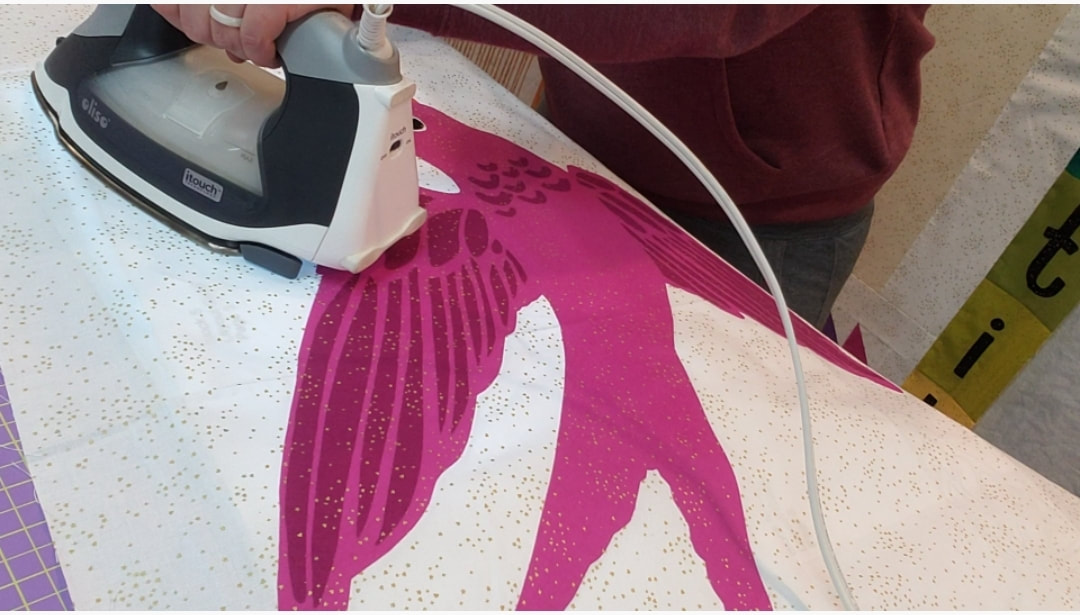
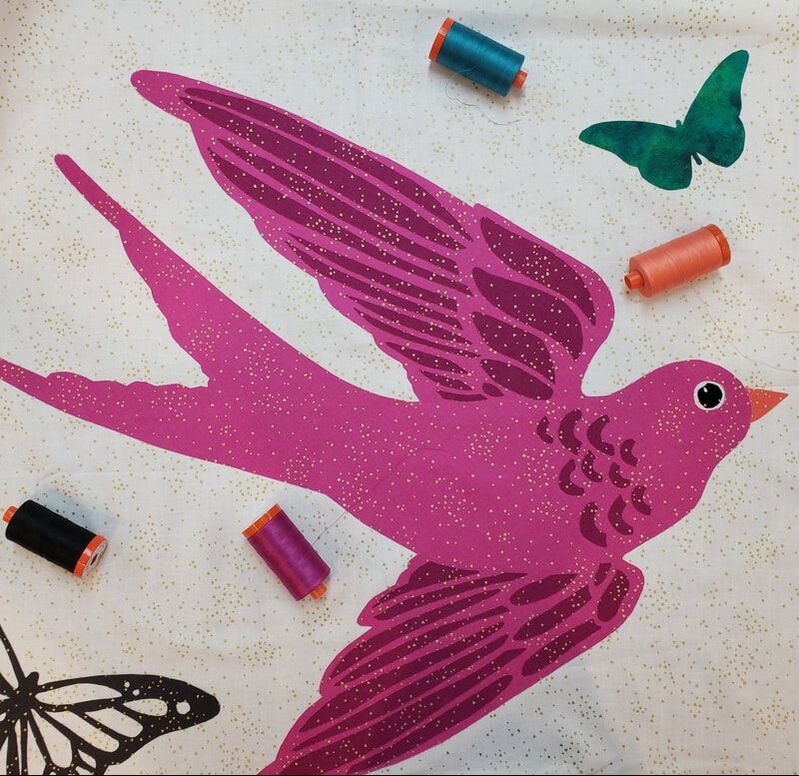
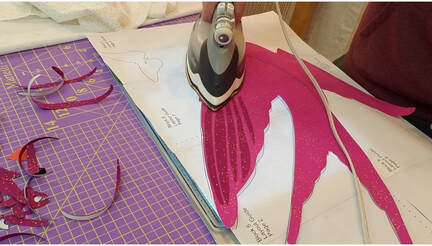
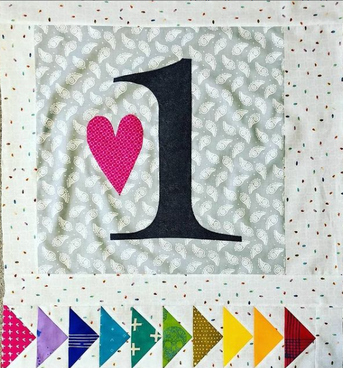
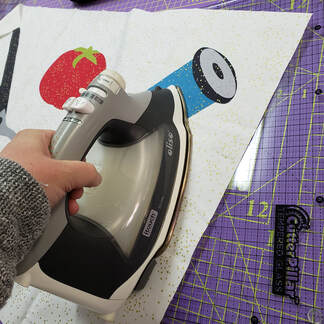
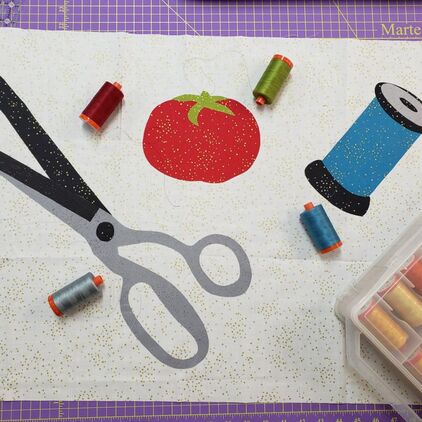
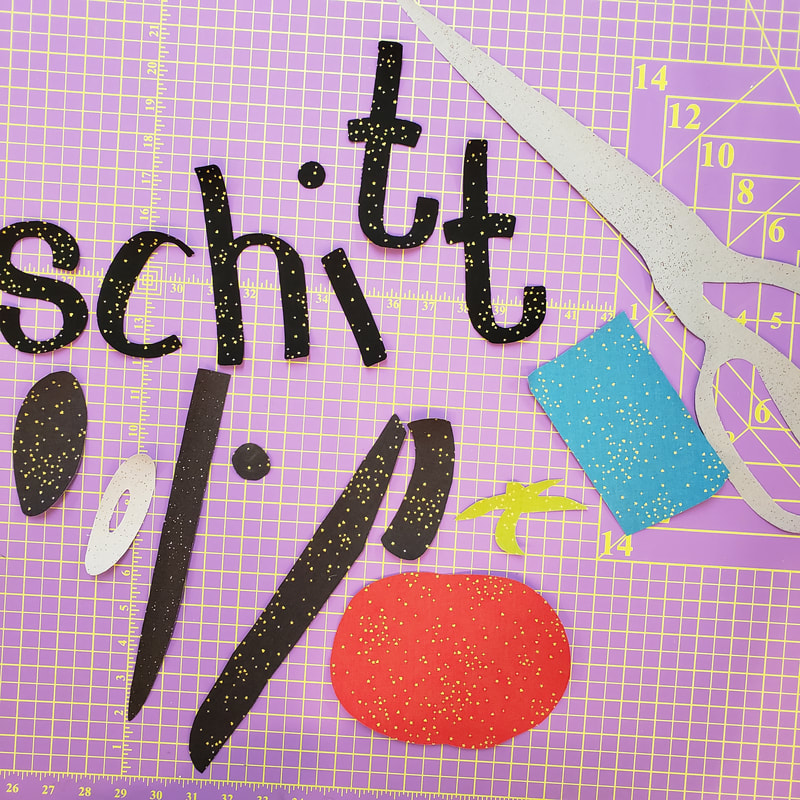
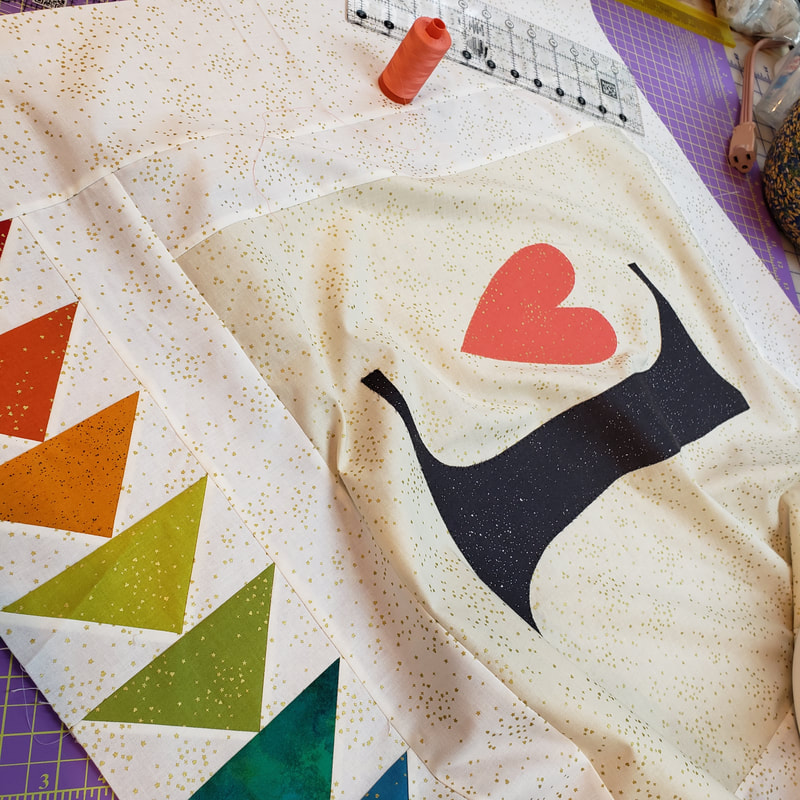
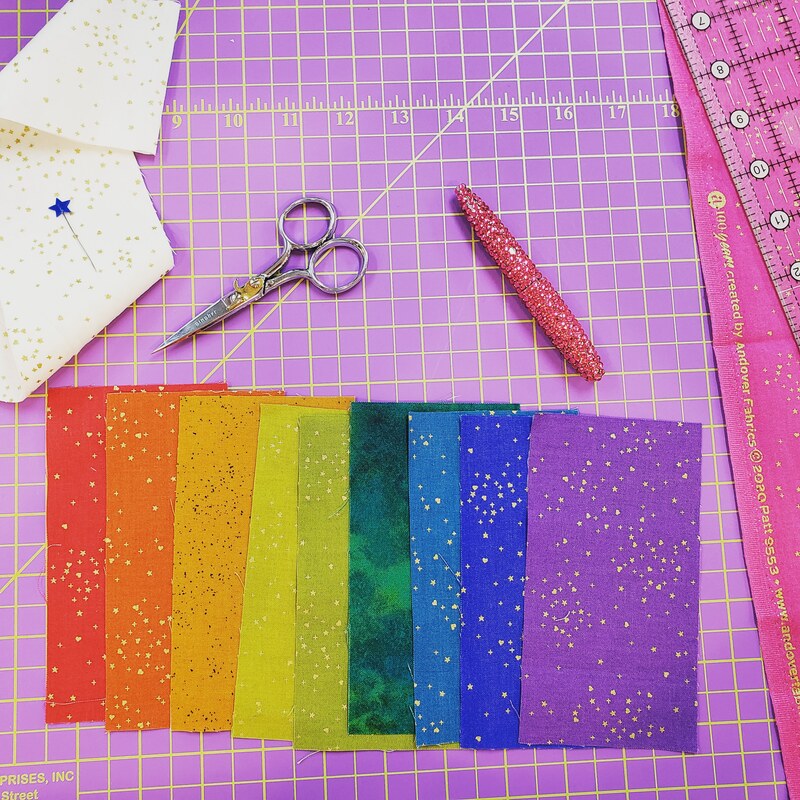
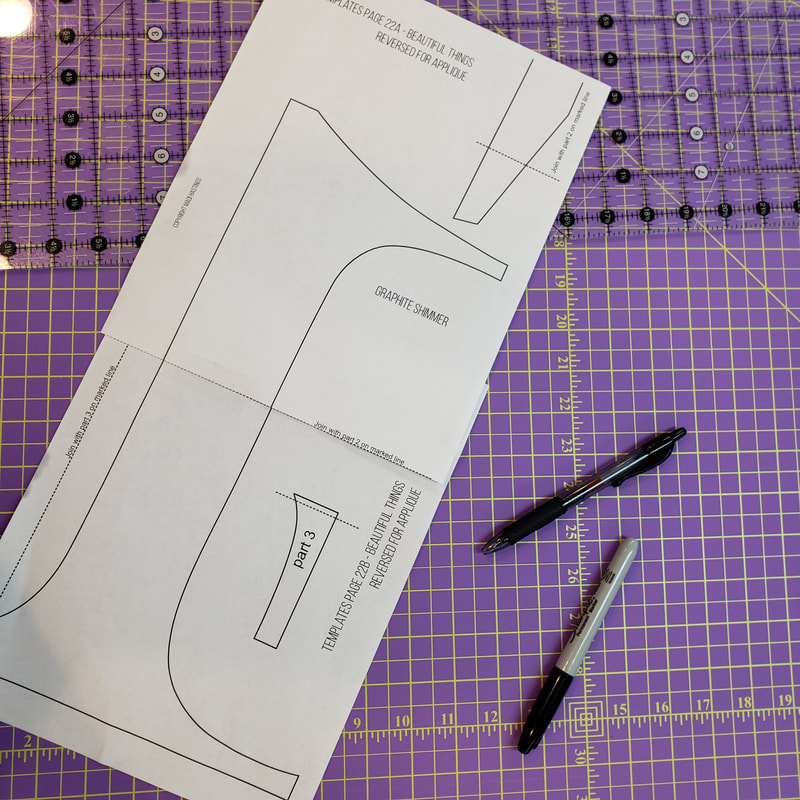
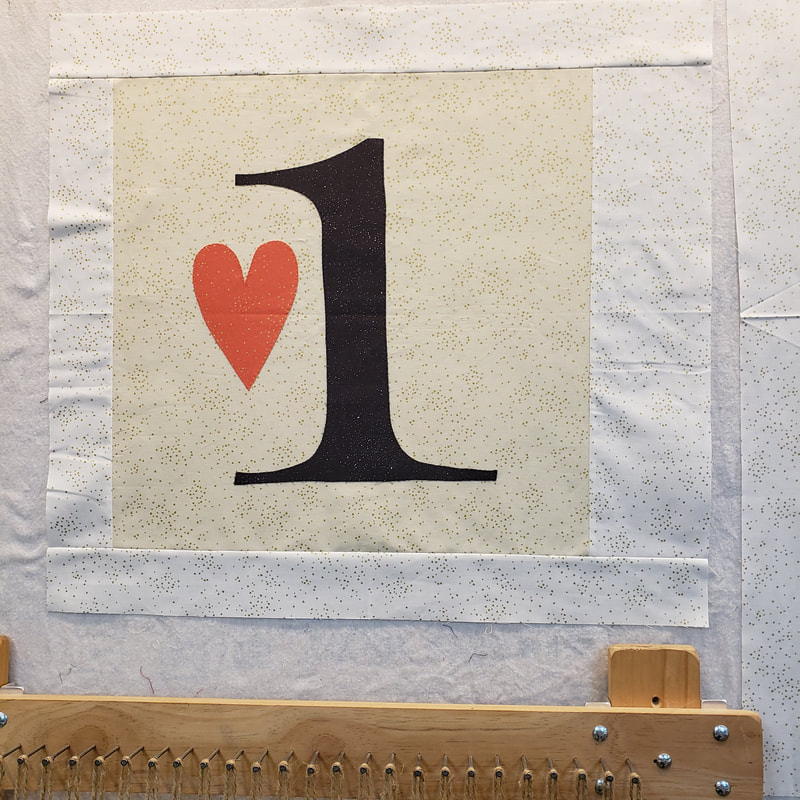
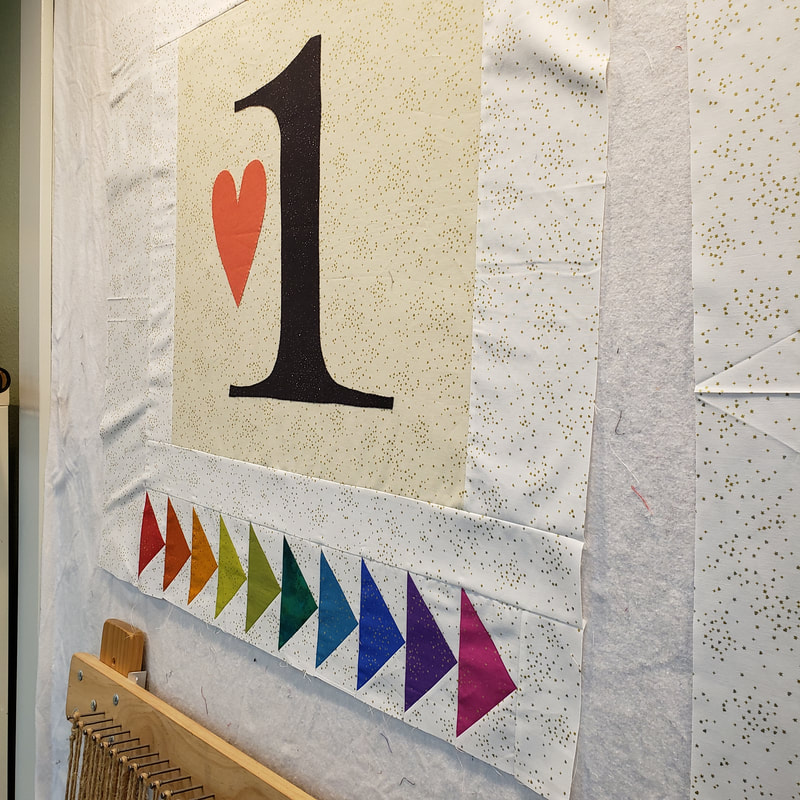
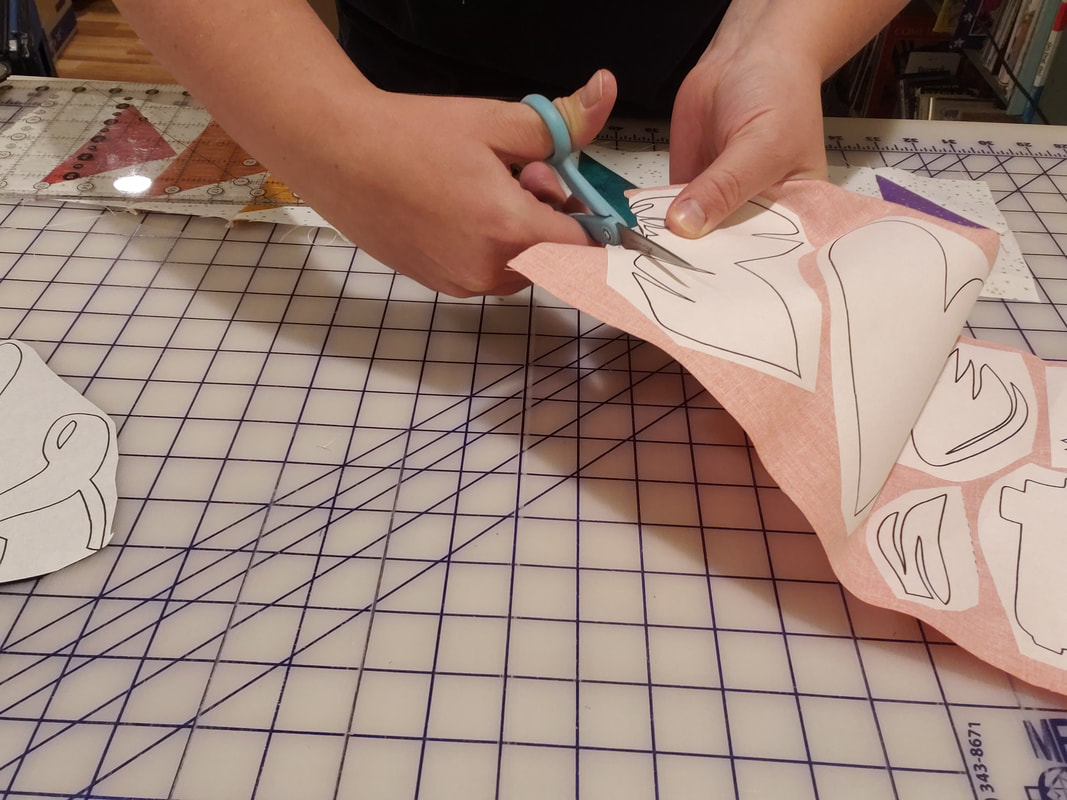
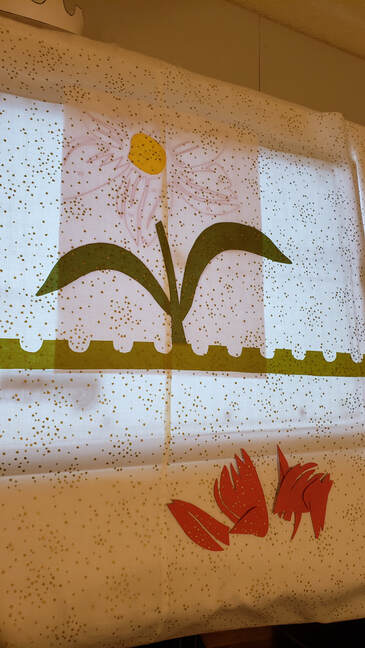
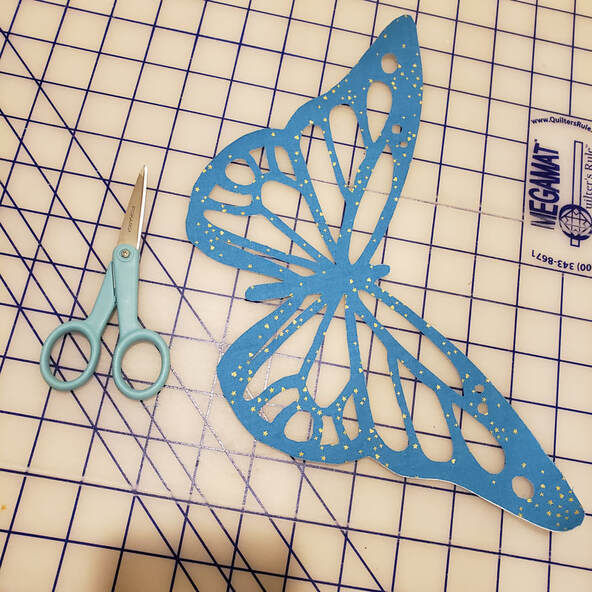
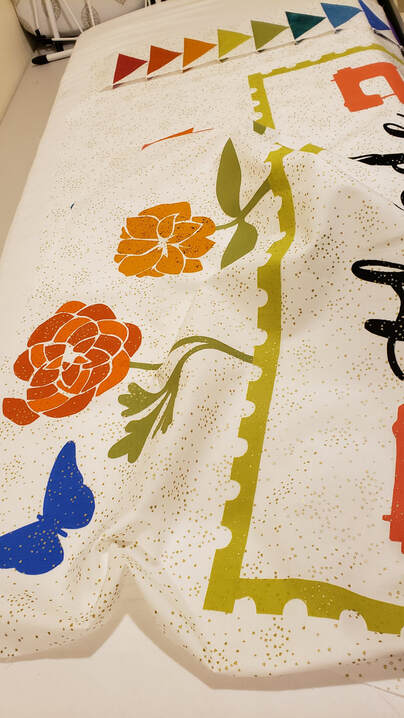
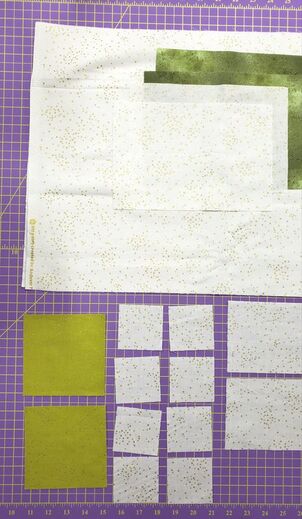
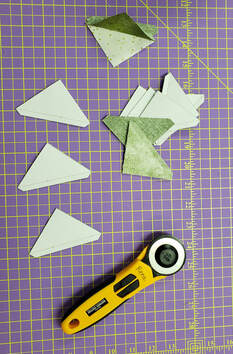
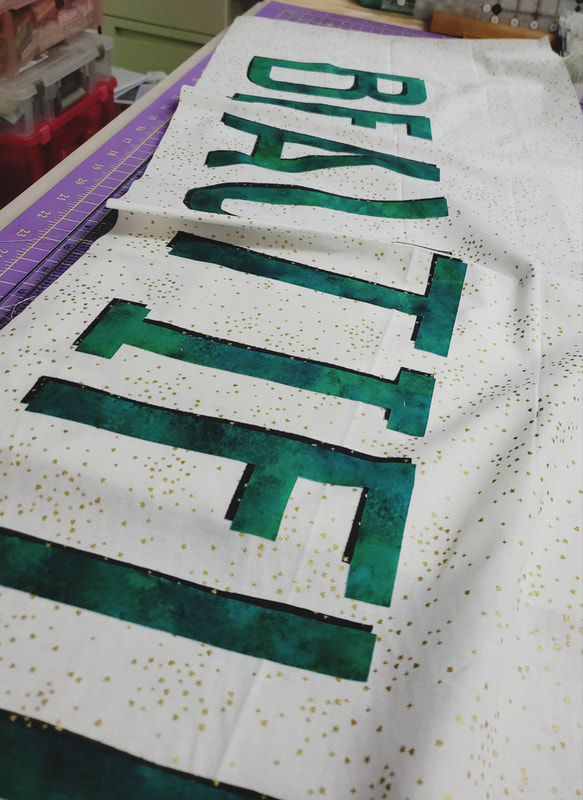
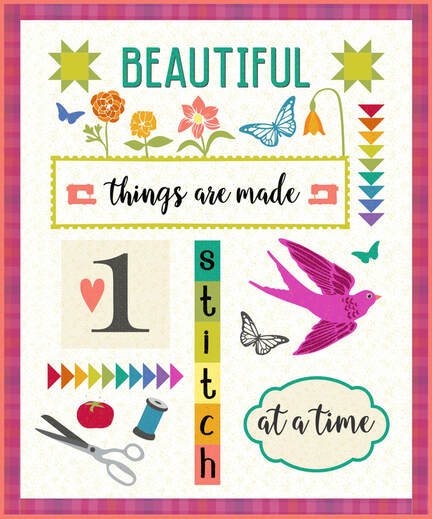
Assembly Instructions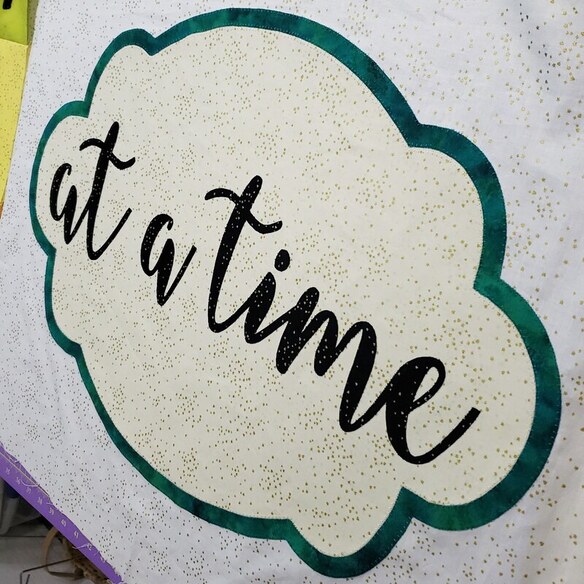 Follow your basic applique process using the reversed applique templates (I have the pre-printed templates from FlexiFuse) I adhered the FlexiFuse to the corresponding fabrics and cut each template out--I really recommend microtip scissors...they make cutting all the corners (not figuratively ;) ) and butterfly inner pieces a dream! I didn't use a layout guide on this block. I just made sure the large Pearl Shimmer piece (the 1st piece I placed down) was equidistant on each side and on the top/bottom using a long quilting ruler. And I also made sure to center my applique text and ensure each word was on the same baseline before I ironed it all down. ALSO a note about the Caribbean Shimmer applique piece on this block: Because it's cut on the bias and is so long/thin, it is tricky to get into place. Watch my YouTube video by hitting the button below to see tricks on how I got it to cooperate (and don't forget to subscribe to my channel to see upcoming tutorials!) Iron all your pieces down with cotton/linen heat setting and no steam for around 10 seconds. I used a blanket stitch to adhere all the applique pieces except for the text, which I used a straight stitch for. Here are the color #s I used when color matching the applique (Aurifil 50 wt): 2692 (black) 4182 (green-blue) Once your applique is stitched down, you'll need to trim your block down to 25-1/2" x 35-3/4" (Make sure to keep your applique centered!) Technically, you're finished with Block 6, but now is a great time to piece ALL of your blocks together! Sew Block 5 to the top of Block 6, then attach your Block 3&4 unit to the left of your Block 5&6 unit. Then, you can attach your Block 1&2 unit to the bottom of your quilt. Finally, add your last applique piece (the remaining Citron Shimmer stamp piece) over the seam you just sewed! That's it! You're finished with your quilt top minus borders!! Post your Block 6 by January 5th, 2021 so you can enter to win the next giveaway. Thank you all for participating--it's been so lovely quilting along with you and seeing your beautiful work!....Next time, we'll be adding borders and a surprise backing!  Welcome back for Block 5! I'm astonished over how quickly time has flown by, and that we're almost done with this quilt! This has to be my favorite block, albeit there's more applique than in other blocks...but those feather details are so cute and worth it! If you're just joining the quilt along, just start on Block 5 with us this week (you'll still need to download some of the files from my blog post that covers Block 1) so that you can be eligible to win the upcoming giveaway/prizes! Previous winners of other blocks have won lightboxes, Aurifil spool packs, FQ bundles, and more! What you need to do to be eligible to win the next giveaway: *Finish Block 5 by December 21st, 2020 *Post your finished block to Instagram and tag me @madi_hastings so that I can see that you finished! (If you're unfamiliar with posting to Instagram, you can also email me at [email protected] to submit your block). *Use hashtags: #flexifuse #madihastings #beautifulthingsQAL #andoverfabrics #aurifil #cutterpillar Let's get started! :) Block 4 Giveaway!
Cutting & Prep InstructionsHere's the download link for the Block 5 instructions and layout guide so you can get started:
Assembly Instructions
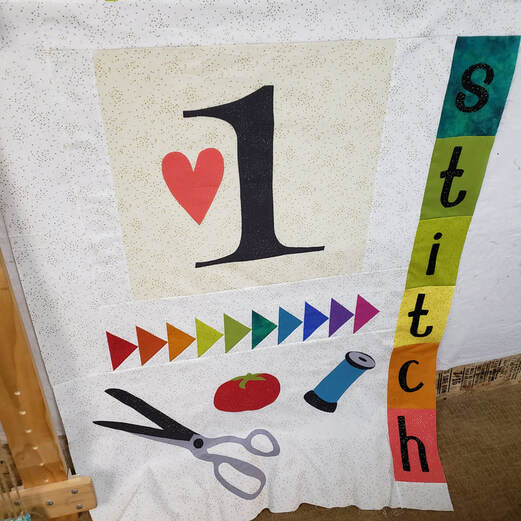 I'm slowly getting things organized in the new place. You can bet I had my sewing room set up before I even put all the clothes away. LOL. Priorities, am I right!? Getting the new sewing room set up got me all antsy to dive into unfinished quilts, but I'm attempting to stay on-track with seeing this one through before I get entirely sidetracked! The ADD is real, people. Once I go down that rabbit hole of pulling out a secondary project, it all goes downhill! Haha. Anyway, on to Block 4! I love all the quilty notions on this block and the whimsical "STITCH" text that runs vertically down the block. If you're just joining the quilt along, just start on Block 4 with us this week (you'll still need to download some of the files from my blog post that covers Block 1) so that you can be eligible to win the upcoming giveaway/prizes! Previous winners of other blocks have won FQ bundles and notions, and EVERYONE participating has received a prize for that week (whether they met the deadline or not!) What you need to do to be eligible to win the giveaway: *Finish Block 4 by December 7th, 2020 *Post your finished block to Instagram and tag me @madi_hastings so that I can see that you finished! (If you're unfamiliar with posting to Instagram, you can also email me at [email protected] to submit your block). *Use hashtags: #flexifuse #madihastings #beautifulthingsQAL #andoverfabrics #aurifil Without further ado, let's get started! Block 3 Giveaway!
Assembly Instructions
Feel free to message me at [email protected] or on Instagram with questions or concerns or to share your progress! I'd love to see :)
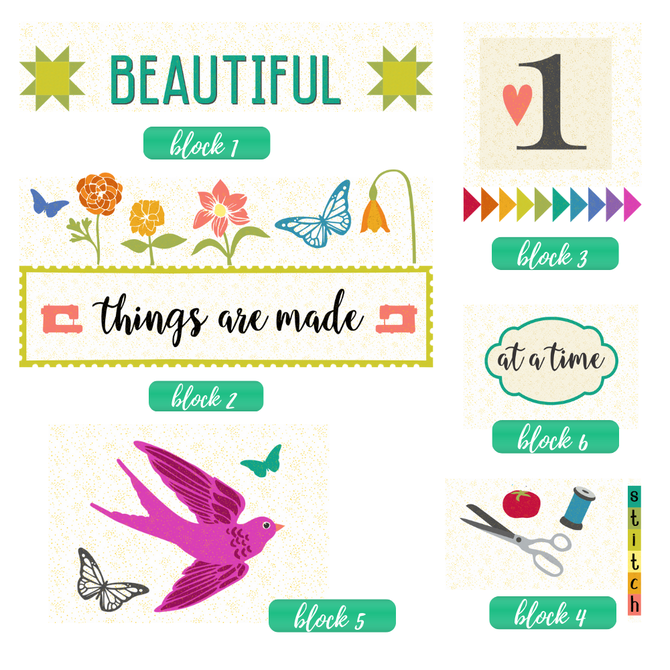
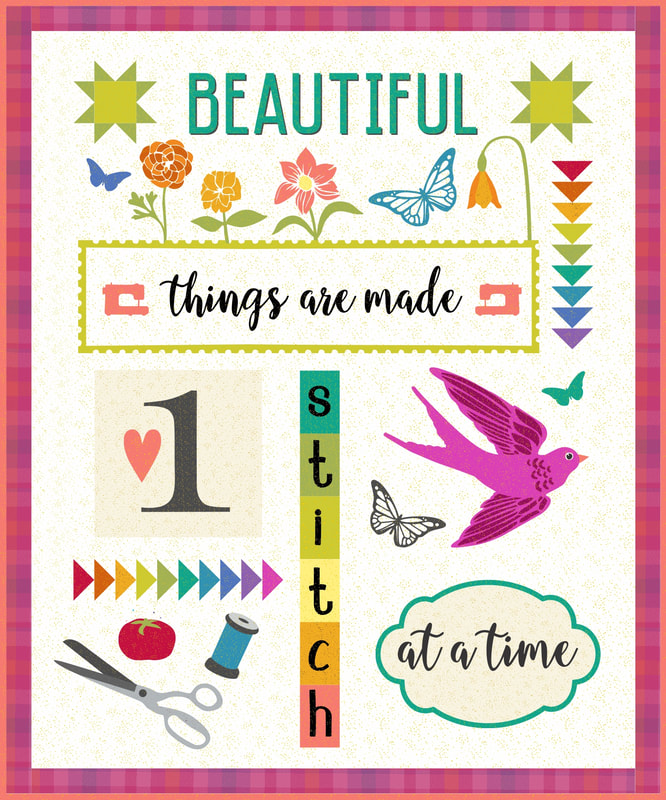
Welcome back for Block 2 of the Beautiful Things QAL! I'm in the middle of a cross-country move as I film and make this block but it's giving me a respite from the never-ending box-packing, junk-sorting, heavy-lifting that has been my last couple of weeks. And I'm excited for the adventures that await! Let's jump straight in. If you have any questions AT ALL, reach out to me via social media, email, or on this blog/YouTube. With a baby in tow and lots of changes going on, my response time is not as fast as it normally is, but I WILL respond to you! A couple of notes from some feedback I've received: If you ordered the kit from FlexiFuse, it includes all the laser-cut applique, so you will SKIP all the applique tracing and cutting steps. I'm sorry I didn't mention that to begin with, but I don't have a kit, so you can see why it wasn't a present thought. Haha! If you ordered the pre-printed fusible templates from FlexiFuse, you will SKIP the applique tracing step and fuse your fabrics straight to the pre-printed fusible. I am using the pre-printed templates (though I do show you how to trace in my Block 1 video). If you haven't started the quilt along yet, just jump straight into Block 2 so that you're able to finish the block in time to be eligible to win the upcoming giveaways/prizes! Go HERE to download fabric requirements, cutting guides, and all the applique templates if you haven't already! ***IF you're not planning on making the full quilt and would like to stop at this point after Block 2, you can! It'll just read "Beautiful Things are Made. You won't want to trim the bottom of your block off, and you'll add your bottom "stamp" applique pieces and additional sashing with Blizzard Shimmer before quilting/binding it. Let me know if you have other questions or concerns, but let's dive right in!
 Here's the download link for the Block 2 instructions so you can get started:
Ok, so apologies are in order first for the delay in posting this first block. With all my good intentions it did not happen on time. If you watched my Instagram Stories earlier today, you'll know my husband's father passed away 2 weeks ago and we are still reeling from that (and in the middle of a move to help out my mother-in-law), my darling, squishy baby boy has been fussy, and to top it all off, my Internet upload/download speeds here at the family cabin have been slower than a dinosaur (you guys, it took me 20 minutes to receive an email!), so PLEASE forgive me for posting this so late. Even with the plethora of valid excuses, I feel enormously guilty, so go easy on me! You are all so important to me, and I'm trying to keep all my promises that I made months ago despite some of the life changes that are currently happening. This has been a welcome distraction, though, and I am over the top THRILLED to be quilting with you all.
Before we dive into Block 1, please download the Cutting and Fabric Guide (above) that will help as a reference for each block. Below are ALL of the applique template files (for blocks 1 through 6). They are organized by color. For Block 1, you'll ONLY need some of the "Caribbean Shimmer" file and the "Graphite Shimmer" file.
 Without further ado...let's get started! Here is the download link for the Block 1 instructions that you can print off and reference:
If you'd like to enter to win 1 of 3 $25 gift cards to local quilt shops, make sure to select Andover Fabric prints for your fabric pull, and post on Instagram with the hashtags: #madihastings #flexifuse #andoverfabrics #beautifulthingsQAL I'll be randomly selecting 3 winners on the 12th of October (the day before the QAL starts). If you'd like to make the quilt in the same fabrics that I am (which are all Andover Fabrics ;), I'd recommend the following vendors that have fabrics in-stock: For Kaleidoscope Plaids/Backing Fabrics: Alison Glass For Spectrastatic Prints: Stash Fabrics For Rainbow Shimmer Prints: Hawthorne Supply Co (United States), Keystone Modern Creative (Canada) For Kits, Fusible, and Notions: FlexiFuse If you haven't already signed up for the QAL (you'll need to so you can receive all updates via email!) then click the button below, which will redirect you FlexiFuse's signup page (HINT: You don't have to purchase their products to sign up for the quilt along, but their products will make it easier for you to finish and win prizes throughout the event ;)) I can't wait to see you all on October 13th! Until then, happy quilting!
xoxo madi 
|
AuthorHi! I'm Madi Hastings, quilt pattern and surface designer! My obsessions are many, including cooking, plant science, and books, but I'll try to narrow down my geeky-ness to pattern design and quilting for the purpose of this blog! If you'd like to make a suggestion or collaborate professionally, just send me an email at [email protected] Archives
January 2021
Categories |
||||||||||||||||||||||||||||||||||||||||||||||||||||||||||||||||||||||||||||||||||||||||||||||||||||||||||||||||||||||||||||||||||||||||||||||||||||||||||


 RSS Feed
