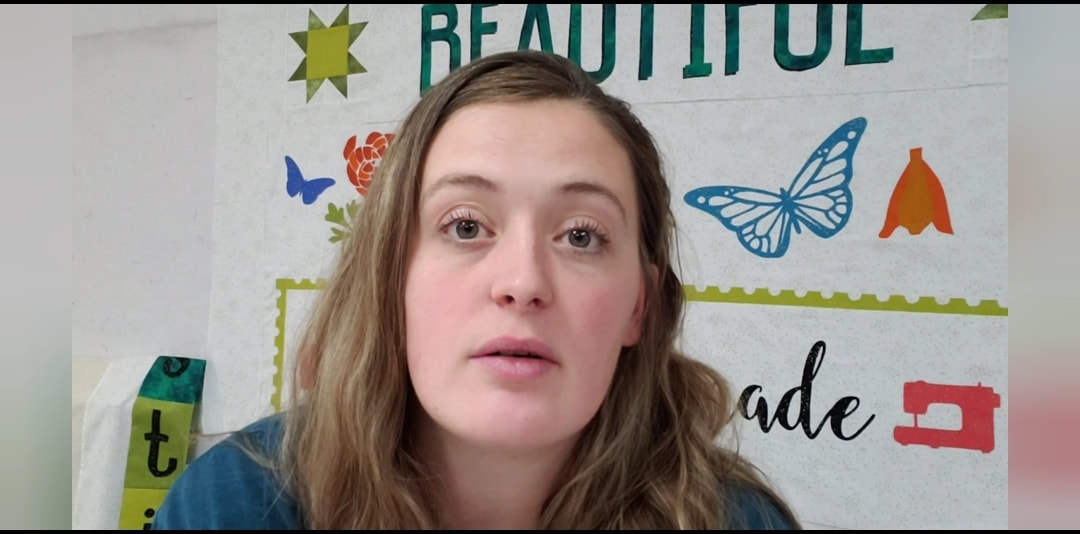
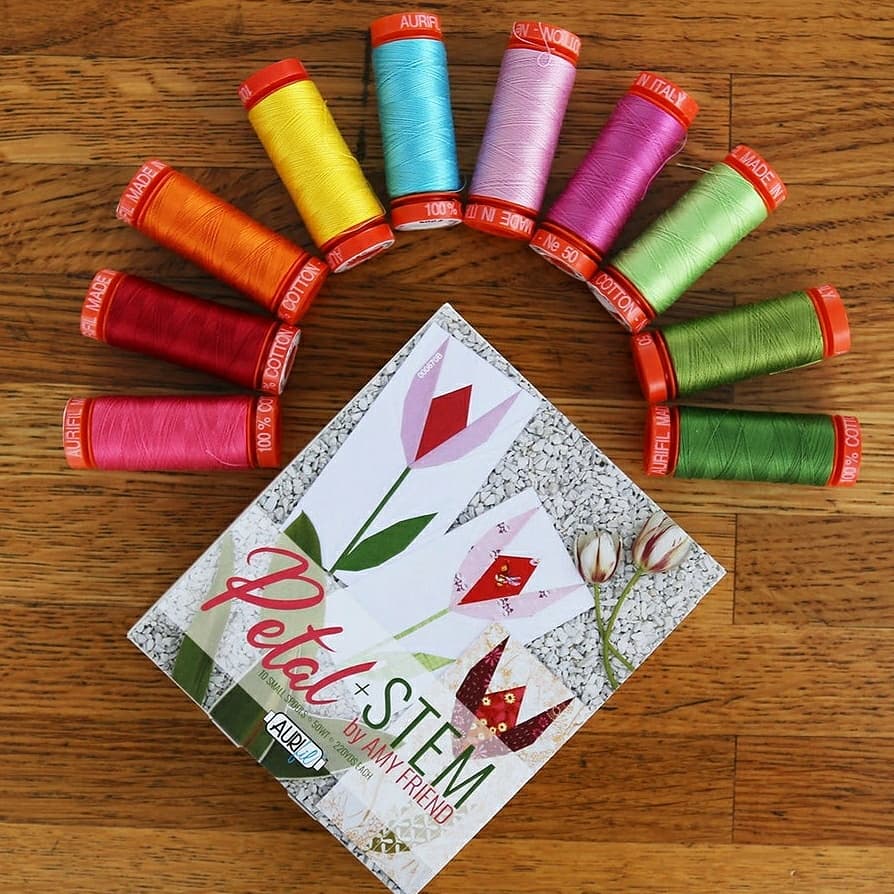
 Welcome back for Block 6!! We're on the home stretch here! (Can you tell from my face in the picture above or is it just the fact that I forgot to take an actual picture so I had to screenshot everything from the video?! LOL) Block 6 is a simple finish, which is a relief because no matter how much I love a quilt, there's bound to be a little burnout by the end...who's with me? If you're just joining the quilt along, just start on this Block 6 with us this week (you'll still need to download some of the files from my blog post that covers Block 1) so that you can be eligible to win the upcoming giveaway and prizes! Previous winners of other blocks have won FQ bundles, cases of Aurifil thread spools, and even a lightbox! What you need to do to be eligible to win the next giveaway: *Finish Block 6 by January 5th, 2021 *Post your finished Block 6 to Instagram and tag me @madi_hastings so that I can see that you finished! (If you're unfamiliar with posting to Instagram, you can also email me at [email protected] to submit your block). *Use hashtags: #flexifuse #madihastings #beautifulthingsQAL #andoverfabrics #aurifil #cutterpillar Let's get started! :) Block 5 Giveaway!Ablin Frengel sent me her finished Block 6 this week (see below) and won this lovely thread pack from Aurifil for the Petal and Stem collection by Amy Friend of @duringquiettime! Congratulations Ablin on a job well done! Keep posting your blocks from Block 5 and participating to receive prizes via email :)
Cutting and Prep Instructions
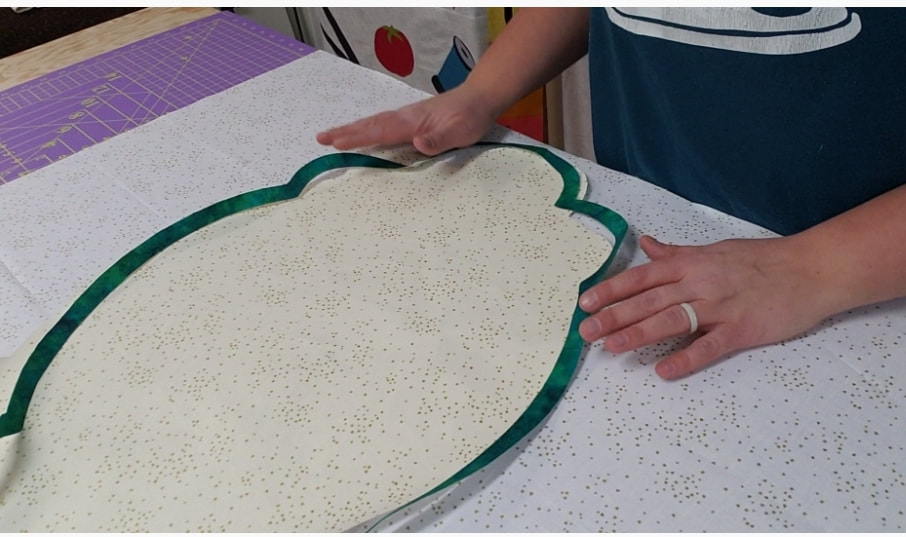
Assembly Instructions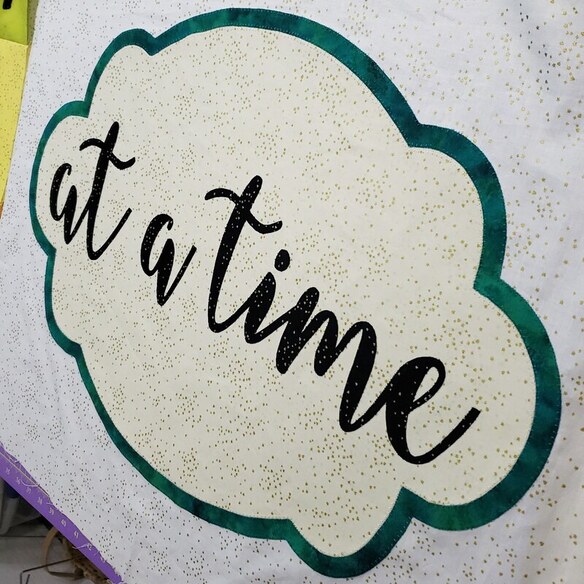 Follow your basic applique process using the reversed applique templates (I have the pre-printed templates from FlexiFuse) I adhered the FlexiFuse to the corresponding fabrics and cut each template out--I really recommend microtip scissors...they make cutting all the corners (not figuratively ;) ) and butterfly inner pieces a dream! I didn't use a layout guide on this block. I just made sure the large Pearl Shimmer piece (the 1st piece I placed down) was equidistant on each side and on the top/bottom using a long quilting ruler. And I also made sure to center my applique text and ensure each word was on the same baseline before I ironed it all down. ALSO a note about the Caribbean Shimmer applique piece on this block: Because it's cut on the bias and is so long/thin, it is tricky to get into place. Watch my YouTube video by hitting the button below to see tricks on how I got it to cooperate (and don't forget to subscribe to my channel to see upcoming tutorials!) Iron all your pieces down with cotton/linen heat setting and no steam for around 10 seconds. I used a blanket stitch to adhere all the applique pieces except for the text, which I used a straight stitch for. Here are the color #s I used when color matching the applique (Aurifil 50 wt): 2692 (black) 4182 (green-blue) Once your applique is stitched down, you'll need to trim your block down to 25-1/2" x 35-3/4" (Make sure to keep your applique centered!) Technically, you're finished with Block 6, but now is a great time to piece ALL of your blocks together! Sew Block 5 to the top of Block 6, then attach your Block 3&4 unit to the left of your Block 5&6 unit. Then, you can attach your Block 1&2 unit to the bottom of your quilt. Finally, add your last applique piece (the remaining Citron Shimmer stamp piece) over the seam you just sewed! That's it! You're finished with your quilt top minus borders!! Post your Block 6 by January 5th, 2021 so you can enter to win the next giveaway. Thank you all for participating--it's been so lovely quilting along with you and seeing your beautiful work!....Next time, we'll be adding borders and a surprise backing!
0 Comments
Your comment will be posted after it is approved.
Leave a Reply. |
AuthorHi! I'm Madi Hastings, quilt pattern and surface designer! My obsessions are many, including cooking, plant science, and books, but I'll try to narrow down my geeky-ness to pattern design and quilting for the purpose of this blog! If you'd like to make a suggestion or collaborate professionally, just send me an email at [email protected] Archives
January 2021
Categories |
 RSS Feed
