Bella Marcel
  • Home
  • About Me
  • Contact
  • Blog

Block 5: Birds & Butterflies

12/8/2020

0 Comments

 
Picture
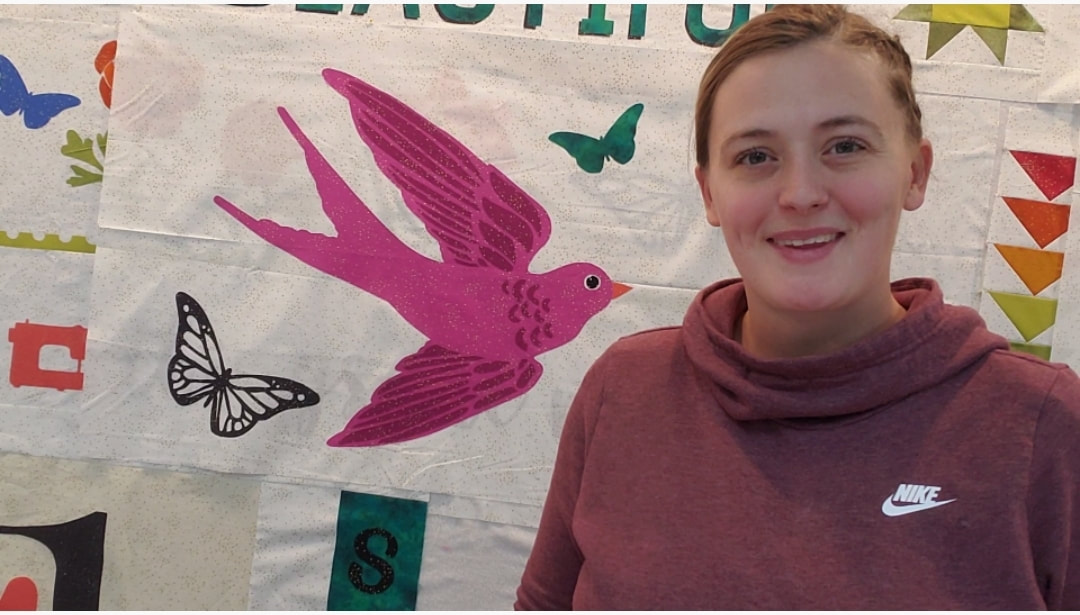
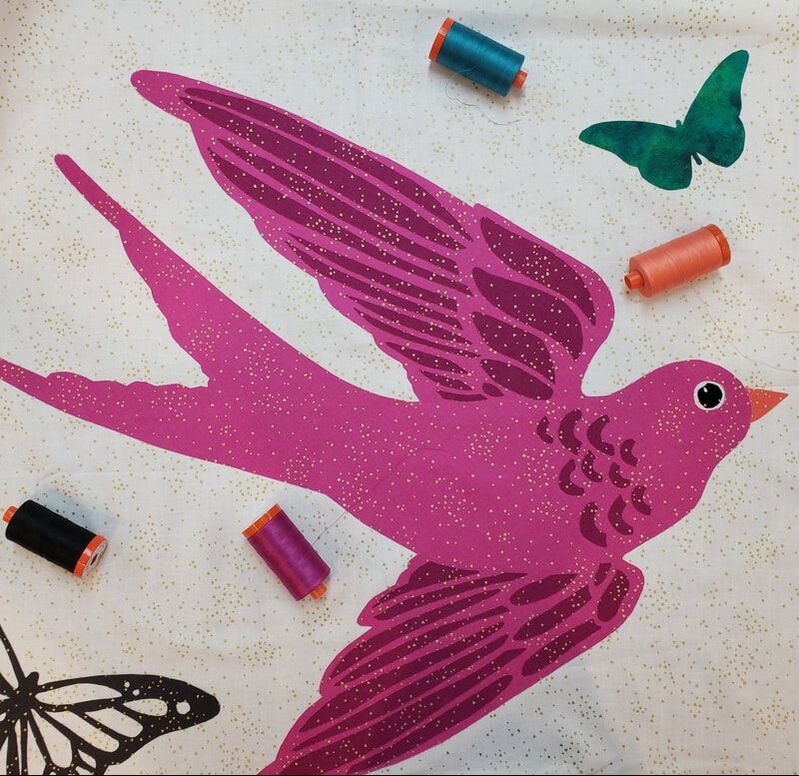
Welcome back for Block 5! I'm astonished over how quickly time has flown by, and that we're almost done with this quilt!

This has to be my favorite block, albeit there's more applique than in other blocks...but those feather details are so cute and worth it! 

If you're just joining the quilt along, just start on Block 5 with us this week (you'll still need to download some of the files from my blog post that covers Block 1) so that you can be eligible to win the upcoming giveaway/prizes! Previous winners of other blocks have won lightboxes, Aurifil spool packs, FQ bundles, and more! 

What you need to do to be eligible to win the next giveaway:

​*Finish Block 5 by December 21st, 2020
*Post your finished block to Instagram and tag me @madi_hastings so that I can see that you finished! (If you're unfamiliar with posting to Instagram, you can also email me at madi@madihastings.com to submit your block).
*Use hashtags: #flexifuse #madihastings #beautifulthingsQAL #andoverfabrics #aurifil #cutterpillar

Let's get started! :)

Block 4 Giveaway!
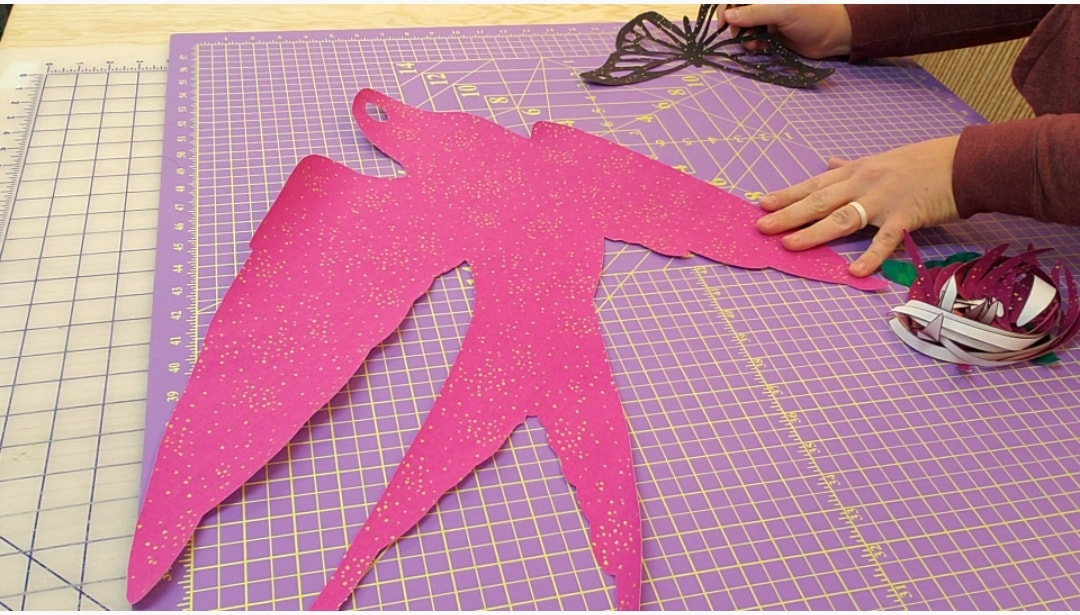
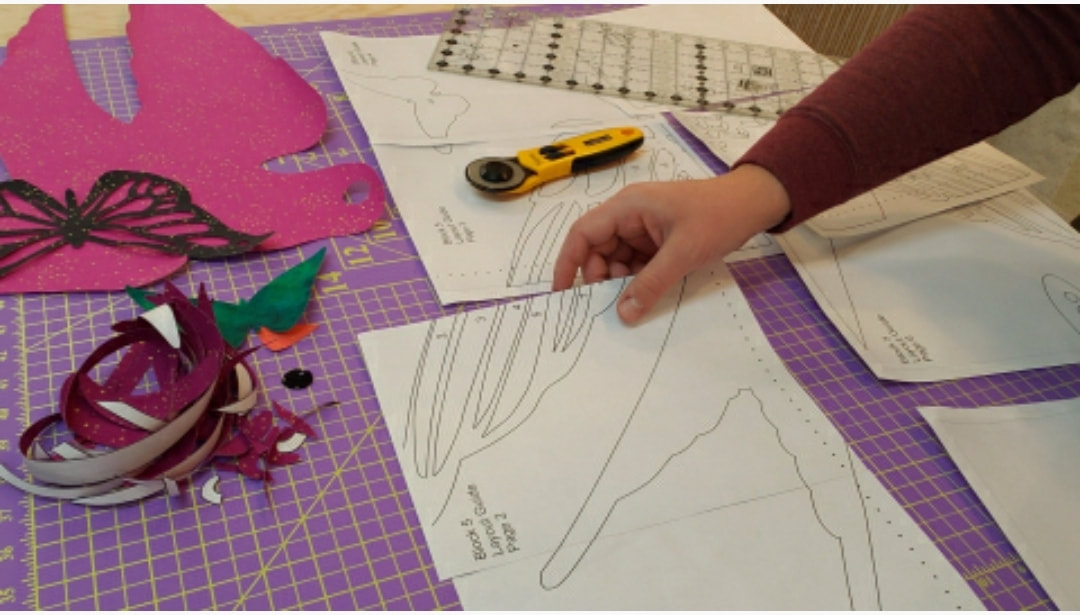
​QuiltyNana @nj56studio won this week's giveaway...a Cutterpillar lightbox! Congratulations!

Keep posting your blocks from Block 4 and participating to receive prizes via email :) 
Picture
Picture
Picture

Cutting & Prep Instructions

Here's the download link for the Block 5 instructions and layout guide so you can get started:
Block 5 Instructions - Beautiful Things QAL
File Size: 50 kb
File Type: pdf
Download File

Block 5 QAL - Layout Guide.pdf
File Size: 126 kb
File Type: pdf
Download File

Make sure to refer to your cutting guide before making any width of fabric cuts! You need to ensure you're not cutting into fabric reserved for Block 6 or your finishing fabric!

Blizzard Shimmer: Cut (1) 26" x WOF cut
Subcut to 26" x 37" (This will be your background on top of which all your applique will be adhered).

Then you'll need the applique templates for: 
Raspberry Shimmer
Magenta Shimmer
Graphite Shimmer
Caribbean Shimmer
Black
​Pink Coral Shimmer
Picture
www.youtube.com/watch?v=hKmecRjzKZ0&t=2sRemember that you won't be using all the templates at once. Watch my Block 5 video to see which templates you need (or refer to the Block 5 image).
Watch Block 5 Video

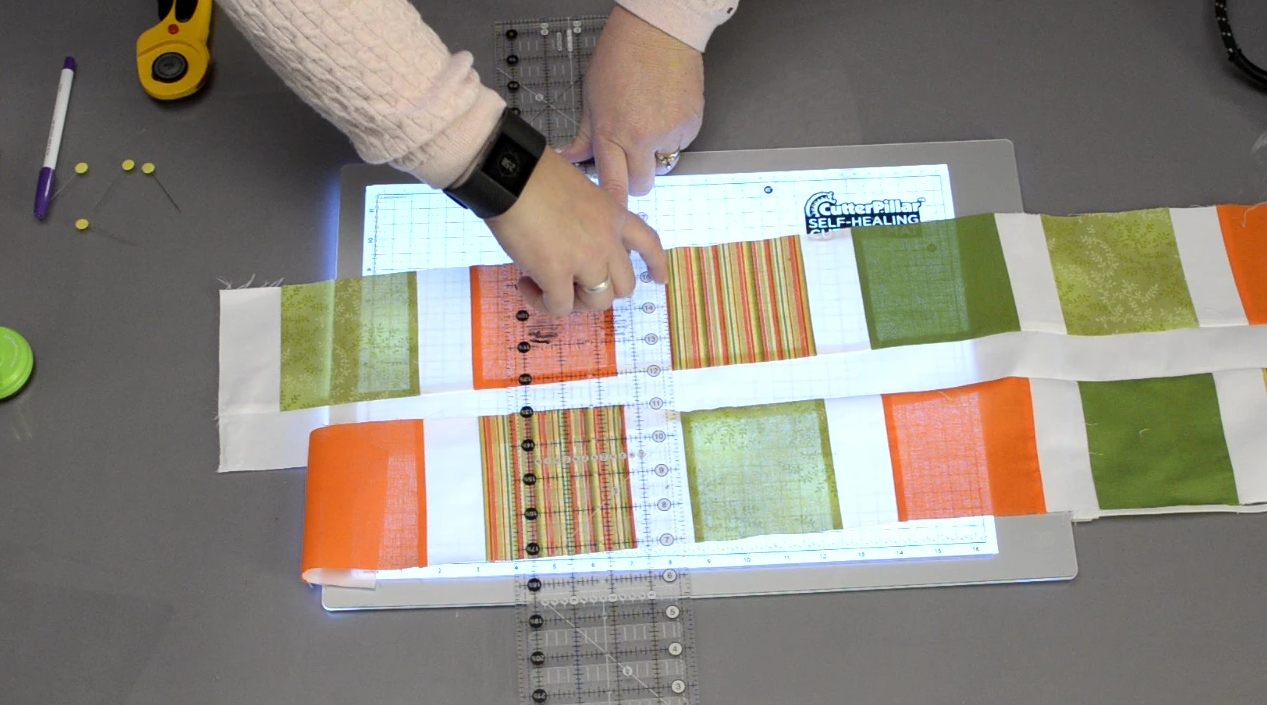
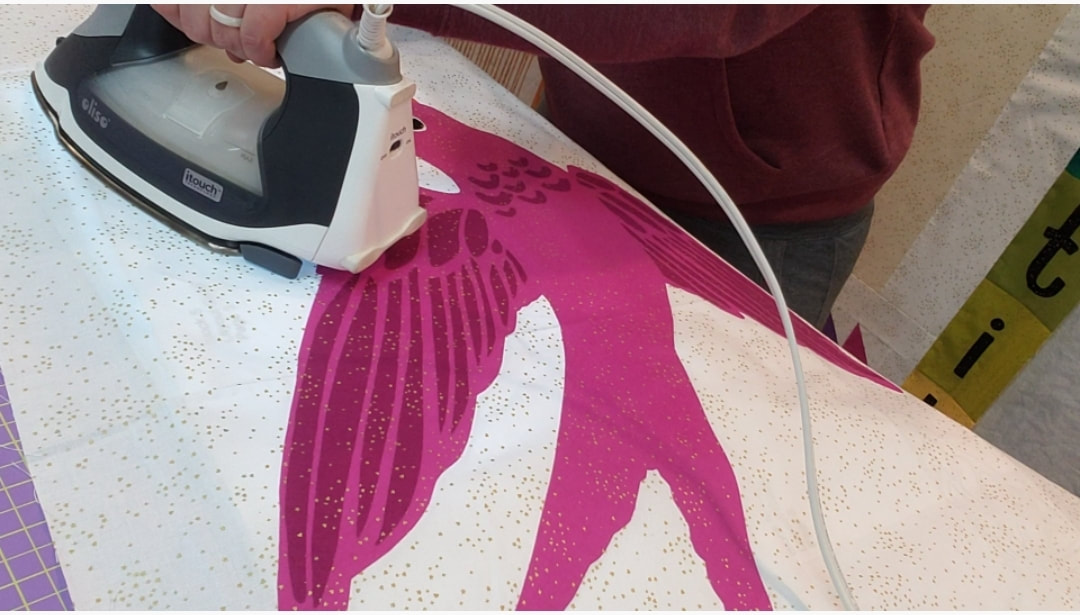
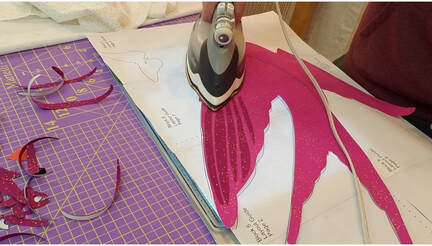
Assembly Instructions

Picture
Cut off the registration marks on the layout guide. Pages 1 through 4 make up the top half of the layout guide; pages 5 through 8 make up the bottom half (and yes, I printed on two different types of paper LOL so it looks a little wonky!) Tape the pages together so you can line everything up correctly. ***Don't line them up based off the edge of the paper, but where the lines meet on the applique pieces.
Picture
After you've prepared the bird and all the feathers are ironed in place, quarter-fold your background Blizzard Shimmer fabric and iron the folds so you can see the center line creases in the block. Line those center line creases up with the large dotted line on the layout guide (over top of the lightbox). Pin the background fabric to the layout guide in each corner so that it doesn't move around. ​
Picture
Picture
Follow your basic applique process using the reversed applique templates (I have the pre-printed templates from FlexiFuse). I adhered the FlexiFuse to the corresponding fabrics and cut each template out--I really recommend microtip scissors, especially for that butterfly piece...they will save your bacon!

After I cut all my applique out, I used my Cutterpillar lightbox with the tempered glass top (with the stand-offs) with the taped layout guide on top to arrange and iron ALL of the feather pieces on to my bird applique BEFORE I take the paper backing off my bird piece (see image below or watch my Block 5 video to see this demonstrated). Remember, use a dry iron on high (cotton/linen) heat to set the FlexiFuse glue.
Watch Block 5 Video
P.S. If you've had your eye on a lightbox for a while, snag a 20% off deal by hitting the button below and using code MADI-LIGHT at checkout. I've been obsessed with Cutterpillar products for a lot longer than I've been a partner of theirs! ​
get 20% off a lightbox!
Picture
Picture
Now you're ready to iron the rest of your applique in place! Start with the bird beak (this one can't be out of order!), then the bird and bird eye, and finish with your butterflies!

Finally, I used a blanket applique stitch to adhere all the larger applique pieces, and a straight stitch around the wing feathers and other small pieces.

Here are the color #s I used when color matching the applique (Aurifil 50 wt):

2692 (black)
2220 (coral)
2535 (magenta)
4182 (green-blue)

After your applique is placed, ironed, and stitched down, you'll need to trim the applique block down to 25-1/2" x 35-3/4" (Make sure you keep it centered!)

​That's it! You're finished with Block 5! Post your blocks by midnight, December 21st, 2020 so you can enter to win the next giveaway! Thanks for participating, and see you next time!
follow me on ig for updates
0 Comments

Your comment will be posted after it is approved.


Leave a Reply.

    Author

    Hi! I'm Madi Hastings, quilt pattern and surface designer! My obsessions are many, including cooking, plant science, and books, but I'll try to narrow down my geeky-ness to pattern design and quilting for the purpose of this blog! If you'd like to make a suggestion or collaborate professionally, just send me an email at madi@madihastings.com 

    xoxo--
    madi 

    Archives

    January 2021
    December 2020
    November 2020
    October 2020
    September 2020
    August 2020

    Categories

    All

    RSS Feed

Powered by Create your own unique website with customizable templates.
  • Home
  • About Me
  • Contact
  • Blog