Bella Marcel
  • Home
  • About Me
  • Contact
  • Blog

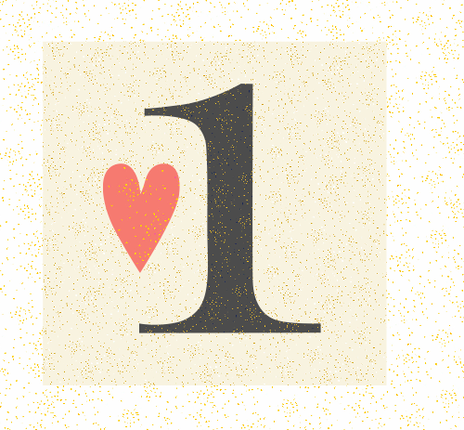
Block 3: "1"

11/10/2020

0 Comments

 
Picture
Welcome back for block 3 of the Beautiful Things Quilt Along!

I finished moving, and even though the sewing room is an unholy disaster, I've located my essentials, and it's sure to be smoother sailing from this point forward with each block :)

If you're just joining us this week, I'd recommend starting with Block 3 and catching up as you go. If you finish Block 3 by November 24th and post it on Instagram (tagging me @madi_hastings) or message me with a picture, you'll be entered to win that week's giveaway (and you'll automatically receive a prize!) Click HERE to download fabric requirements, cutting guides, and applique templates if you haven't already.
Feel free to message me at madi@madihastings.com or on Instagram with questions or concerns or to share your progress! I'd love to see :)

Block 2 Giveaway!

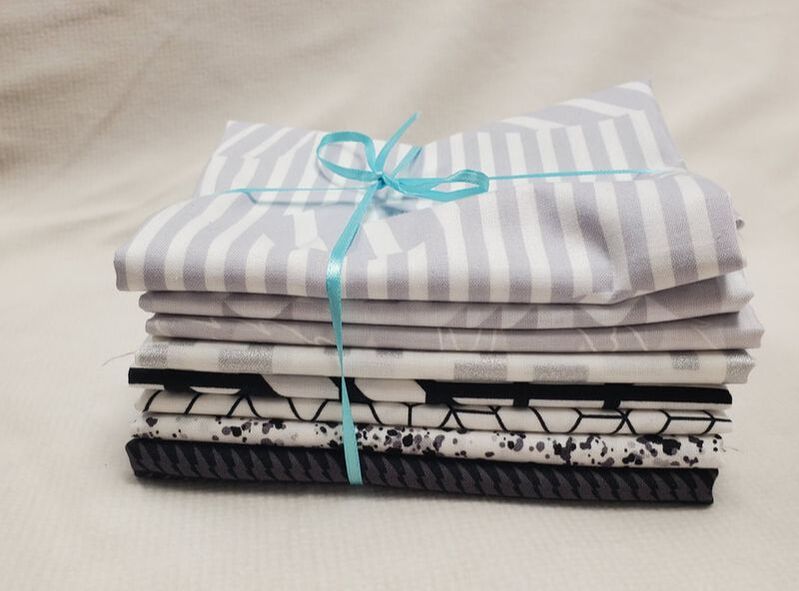
​Congratulations to @roxyquilts , winner of a FQ bundle of Andover Fabrics! Anyone who posts their Block 2 is still eligible to receive a prize, so don't hesitate to post, even if you've missed this week's giveaway! Message me or post a picture of your block and give me your email so I can email you the gift :)
Picture

Picture
Blizzard Shimmer:
  • Cut (1) 5-1/2" x WOF strip--
Subcut into (1) 5-1/2" x 30-1/2" strip and (1) 5-1/2" x 2-1/2" rectangle
  • Cut (2) 3" x WOF strips--
Subcut into (2) 3" x 27-1/2" strips and (8) 3" squares
You'll need a TOTAL of 20 3" squares, so use some of your extra scraps from previous blocks if you're saving fabric to cut the remaining 3" squares. If you don't have scraps to cut into, you'll need to cut a 3rd 3" x WOF strip and cut an additional (12) 3" squares for a total of (20) 3" squares
  • Cut (1) 5" x WOF strips--
Subcut into (1) 5" x 20-1/2" strip and (1) 3" x 20-1/2" strip

You'll notice that my pattern instructions say "using leftover yardage from Blocks 5 and 6." This will optimize your fabric yardage, so go watch my YouTube video HERE to learn how.
Picture

Cutting Instructions

Here's the download link for the Block 3 instructions so you can get started:
block_3_instructions_-_beautiful_things_qal.pdf
File Size: 46 kb
File Type: pdf
Download File

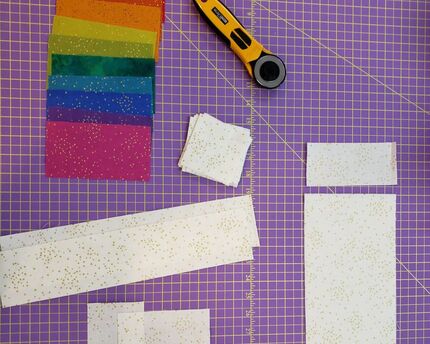
A list of what you need to cut for this block (I like to cut everything at once and then move on to my applique and piecing steps):

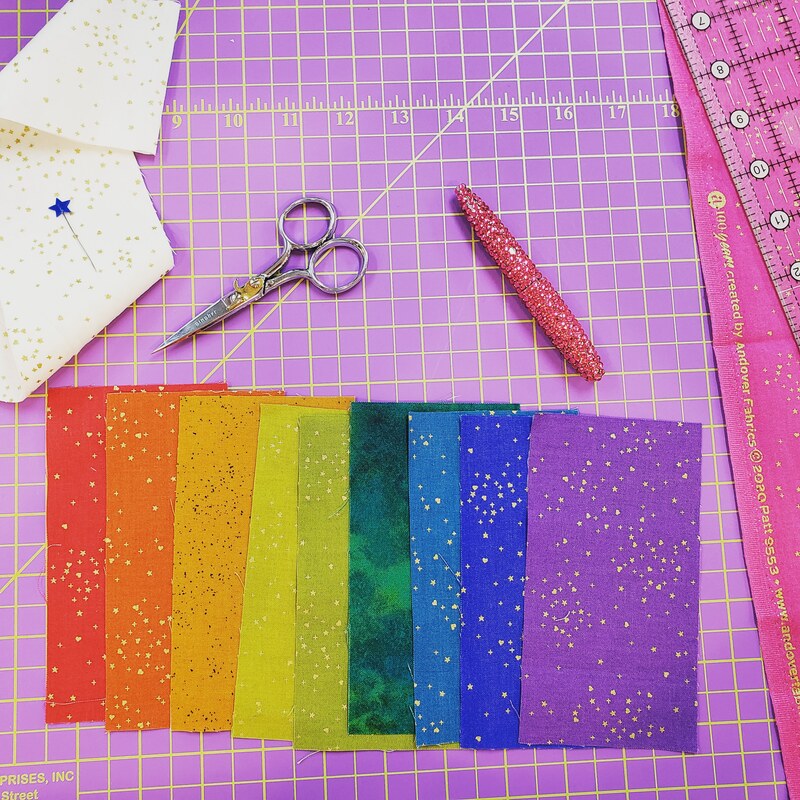
Cut (1) 5-1/2" x 3" rectangle from each of the following fabrics (If you followed along in my YouTube tutorial for Block 2, you have ALREADY cut these except for Magenta Shimmer!):

Apple Shimmer
Mandarin Shimmer
Marigold Spectrastatic
Citron Shimmer
Wasabi Shimmer
Caribbean Shimmer
Peacock Shimmer

Dawn Shimmer
Violet Shimmer
​Magenta Shimmer


Pearl Shimmer: (1) 21" square (do NOT cut 21" x WOF or you won't have enough fabric for the applique piece in Block 6--refer to cutting guide and watch my YouTube video HERE where I talk about it.


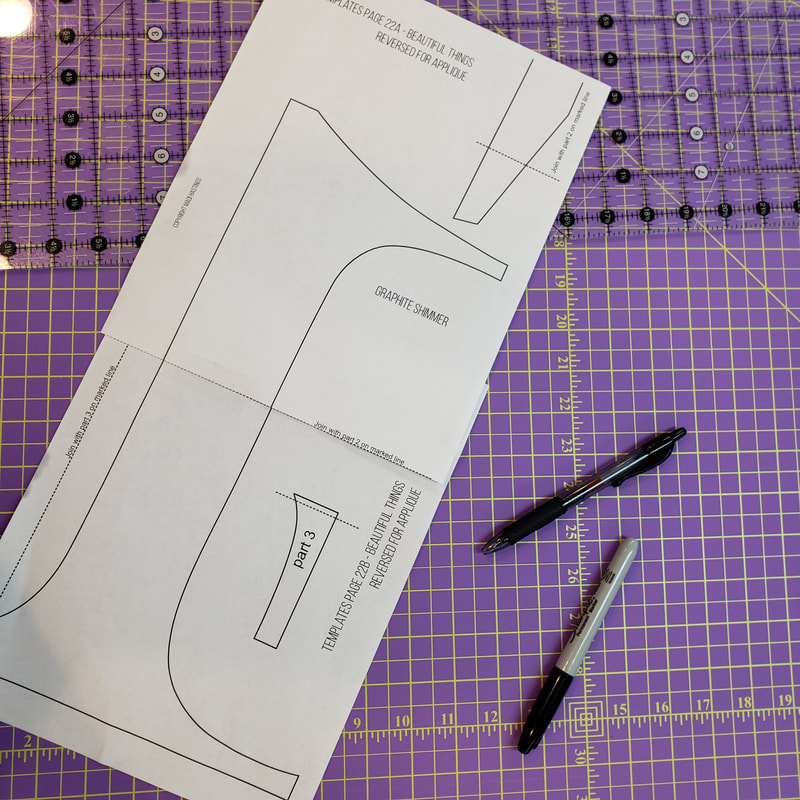
You'll need the applique templates for:
Graphite Shimmer and
Pink Coral Shimmer ​(you should have already printed both of these pages, so just cut out the templates that you need).
If you ordered the kit, skip the tracing/cutting steps for applique.

If you haven't printed those templates pages yet, click the button below to visit my previous blog post with the download links. Be sure to print to size!
​
Download Applique templates

Flying Geese Instructions

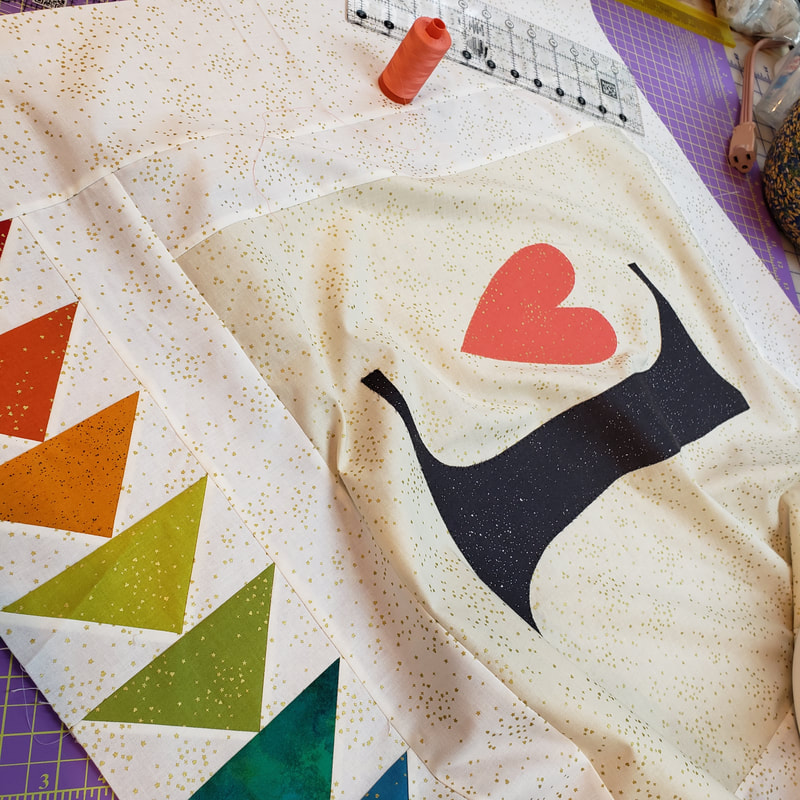
Follow the Block 3 instructions for assembling your flying geese unit with your 5-1/2" x 3" fabric rectangles and 3" Blizzard Shimmer fabric squares. I pressed the seams of the flying geese toward the white to prevent thick seams at the end.

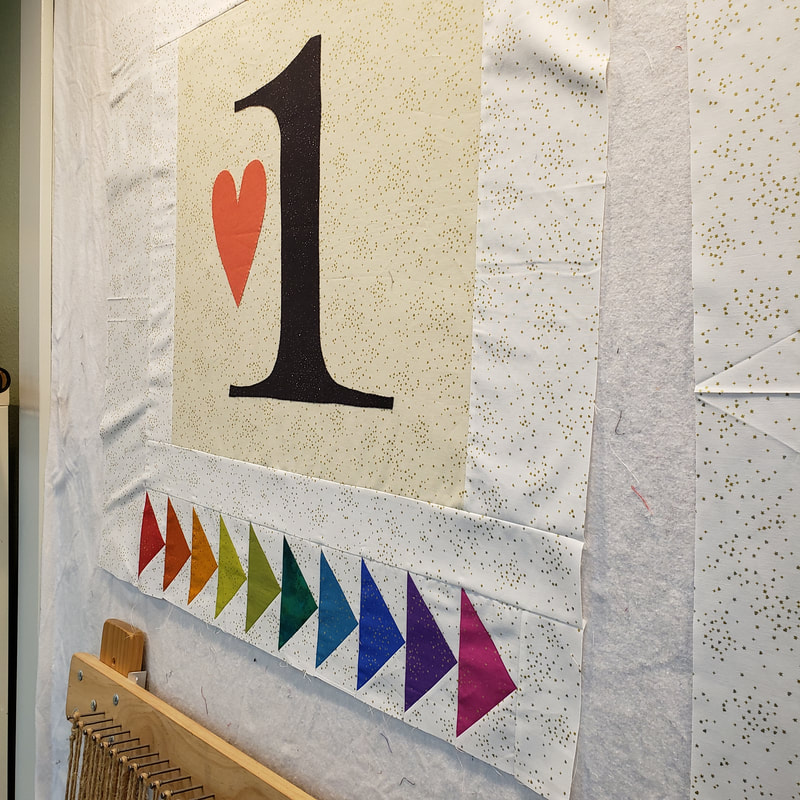
Sew your completed 5" x 2-1/2" flying geese units together with a 1/4" seam in color order: Apple Shimmer, Mandarin Shimmer, Marigold Spectrastatic, Citron Shimmer, Wasabi Shimmer, Caribbean Shimmer, Peacock Shimmer, Dawn Shimmer, Violet Shimmer, and Magenta Shimmer.

Then, attach your 5-1/2" x 2-1/2" Blizzard Shimmer rectangle to the right hand side (adjacent to the Magenta Shimmer unit) of the row, which should now measure 5-1/2" x 27-1/2."
Picture

Picture

Applique Block Instructions

Tape template pages together (unless you ordered the pre-printed fusible or kit!) and trace on to your FlexiFuse. Follow basic applique instructions (if you haven't downloaded those yet, you can find them HERE) using the reversed Graphite Shimmer and Pink Coral Shimmer applique templates (you only need the "1" and the heart).

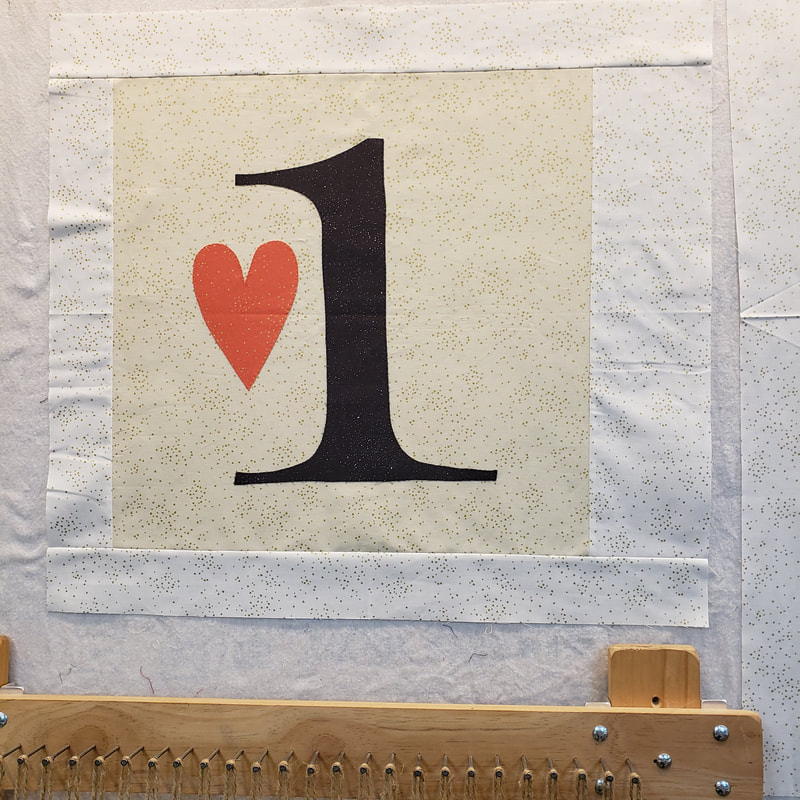
Adhere your fusible-backed applique to the center of the Pearl Shimmer 21" square and stitch your applique down. I have thread color recommendations in my YouTube video. Click the button below to view the Block 3 video.
Watch Block 3 video
Trim your applique block down to 20-1/2" square, making sure the applique is centered and square! ​

Sashing/Finishing Instructions

Now time to add sashings and finish the block!

​To the left hand side of your Pearl Shimmer applique block, pin and stitch with a 1/4" seam your 3" x 20-1/2" strip of Blizzard Shimmer.

Then, to the right hand side of your Pearl Shimmer applique block, pin and stitch with a 1/4" seam your 5" x 20-1/2" strip of Blizzard Shimmer.

​Press your seams, and then attach your top and bottom Blizzard Shimmer sashings (the 3" x 27-1/2" strips). Press your seams again.
Picture
Picture
Or follow along the Beautiful Things QAL page to post your block and ask questions/join a community of people that are participating!
Beautiful Things QAL Facebook Page
You'll attach your flying geese row to the base of your block. 

Finally, add your 5-1/2" x 30-1/2" sashing strip of Blizzard Shimmer to the left hand side of your block.

You're finished with Block 3!

​Don't forget to post your completed Block by November 24th, 2020 to be eligible to win the giveaway and receive prizes! We'll see you again in 2 weeks!

​Check out my Instagram page here to follow along with updates on the quilt along.
View Madi's Instagram
0 Comments

Your comment will be posted after it is approved.


Leave a Reply.

    Author

    Hi! I'm Madi Hastings, quilt pattern and surface designer! My obsessions are many, including cooking, plant science, and books, but I'll try to narrow down my geeky-ness to pattern design and quilting for the purpose of this blog! If you'd like to make a suggestion or collaborate professionally, just send me an email at madi@madihastings.com 

    xoxo--
    madi 

    Archives

    January 2021
    December 2020
    November 2020
    October 2020
    September 2020
    August 2020

    Categories

    All

    RSS Feed

Powered by Create your own unique website with customizable templates.
  • Home
  • About Me
  • Contact
  • Blog